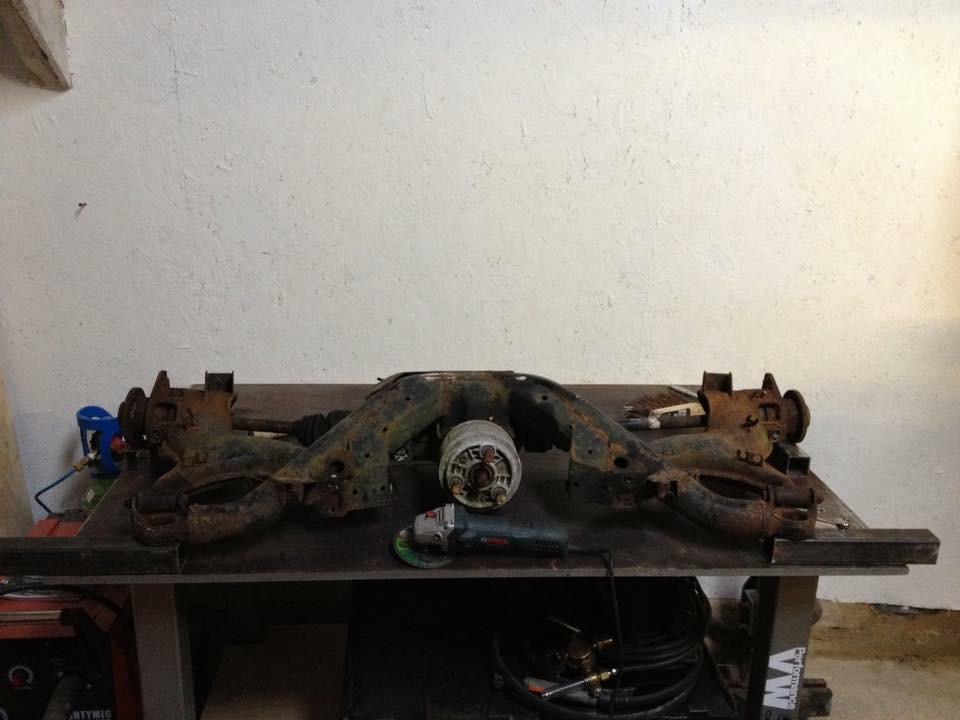
Background:Instagram: @Sa_Engineering Time to cut a very long storey short. Originally I set out to build a MK2 using the subframes and running gear from a MK1 TT/S3. I set to work building a reverse negative jig of all the suspension points and mounting locations. A lot of work went into this but it was quickly apparent that it was not as “Straight forward” as it seemed.
Due to the design of the TT rear suspension to get the ride height correct the rear chassis rails have to be notched to allow for clearance. I say notched but they pretty much have to go completely.
To get the front subframe to sit at the same height the front chassis legs have to have a hell of a lot of material removed to allow for the 4 main mounts to be fabricated. To regain the strength in my opinion these mounts would need to have been tied into a roll cage and if that’s the case you may as well space frame the entire car…… at a later date maybe. So this has been shelved for now.
There are a few mk2’s now utilising the TT running gear but the only one that sits right in my eyes was one that had the entire floor swapped rather than just subframes. But when is a Mk2 no longer a Mk2…..
With the final intention to enter the Volkswagen Drag Racing Champion VWDRC I quickly located a new shell and set to work.
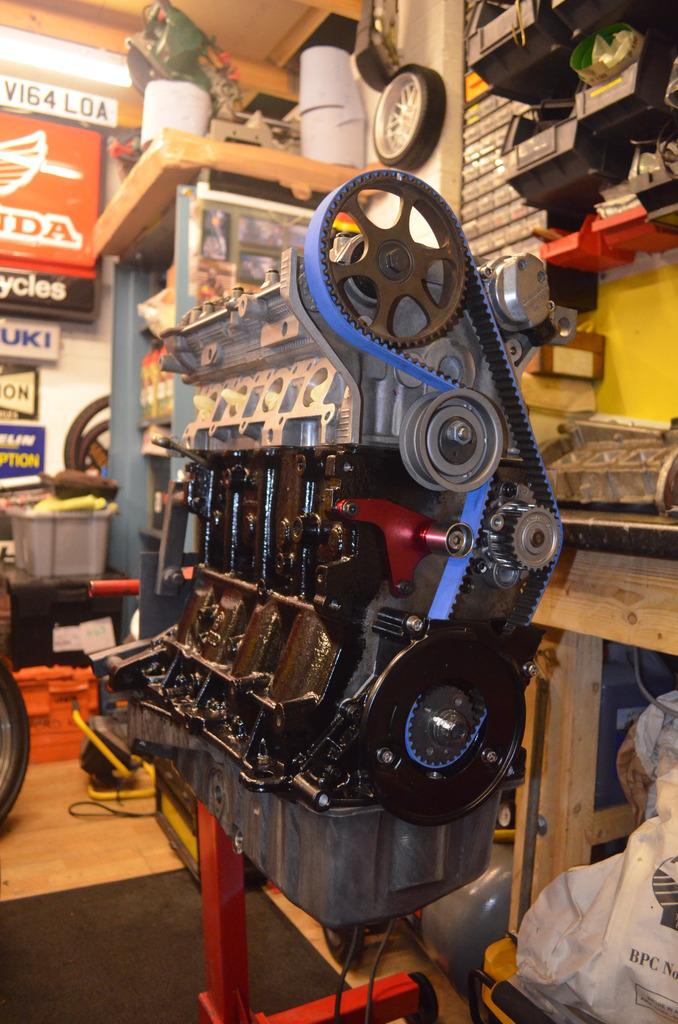
Original Engine:I had already built and finished the engine for this one but had decided that the original 500hp target was not going to be enough so it had to go. The GTX3071 was sold my friend James for his 4wd MK5 TFSI build and the tall block was sold to a local lad building a MK4 track car. This freed up some funds to kick-start the new project.
Original Engine spec:
AGU block 1mm oversize 1825cc
AGU Big port head, ported, polished, full supertec valve train, piper cams.
Wossner Pistons (Std compression)
I.E Rifle Drilled Rods 20mm
Splutter Bearings, OEM thrust bearings
ARP Hardware throughout
New OEM oil pump, chains tensioner, chain, water pump etc.
Pinned bottom pulley
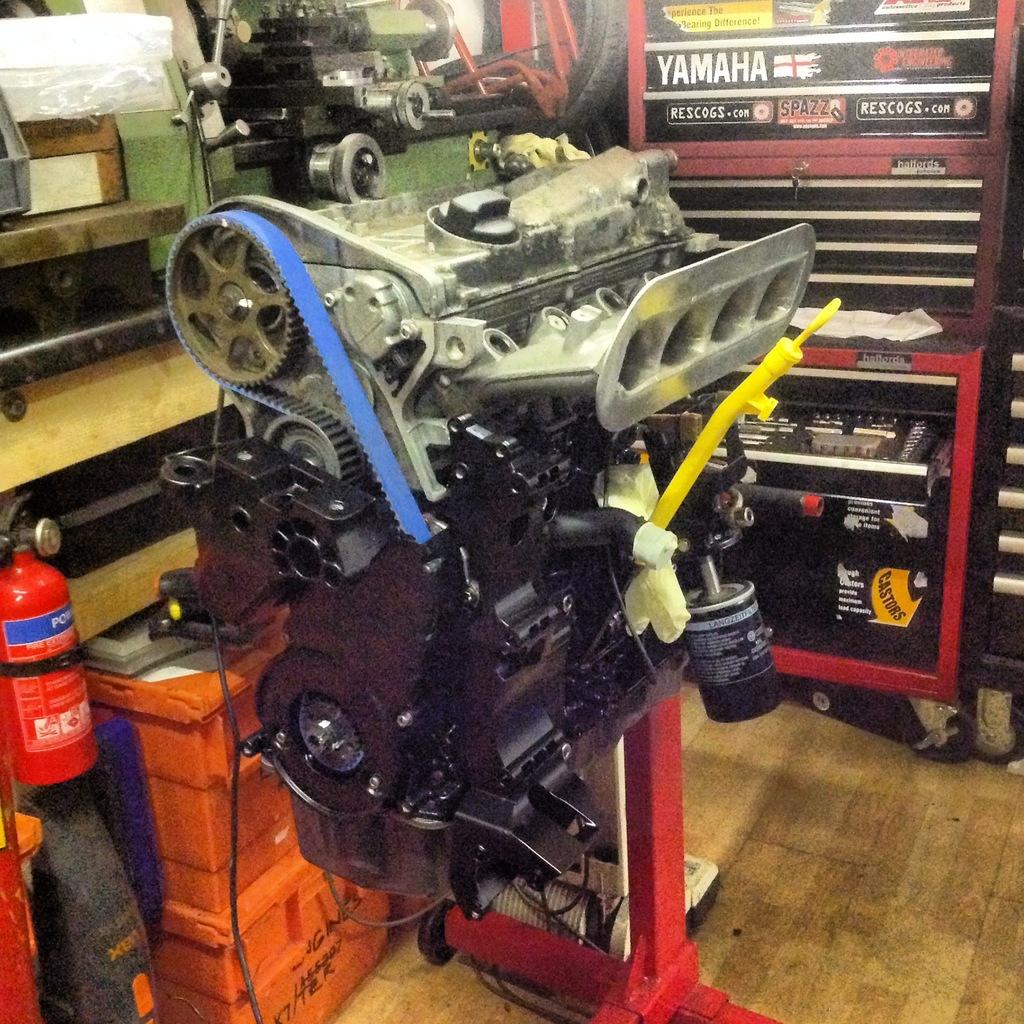 New Engine and gearbox:
 Engine wise for this car will be a VR/R32 Turbo in some guise. More than likely an R30 unit as the Germans have proved time and time again that they can make the power and hold together.
Final specs are yet to be decided but I am looking to make potentially 800hp+
Gearbox will be based on the later 02Q from the Mk5 GTI and A3 3.2’s. Don Octane dog box, SQS sequential shifter, no lift shift etc.
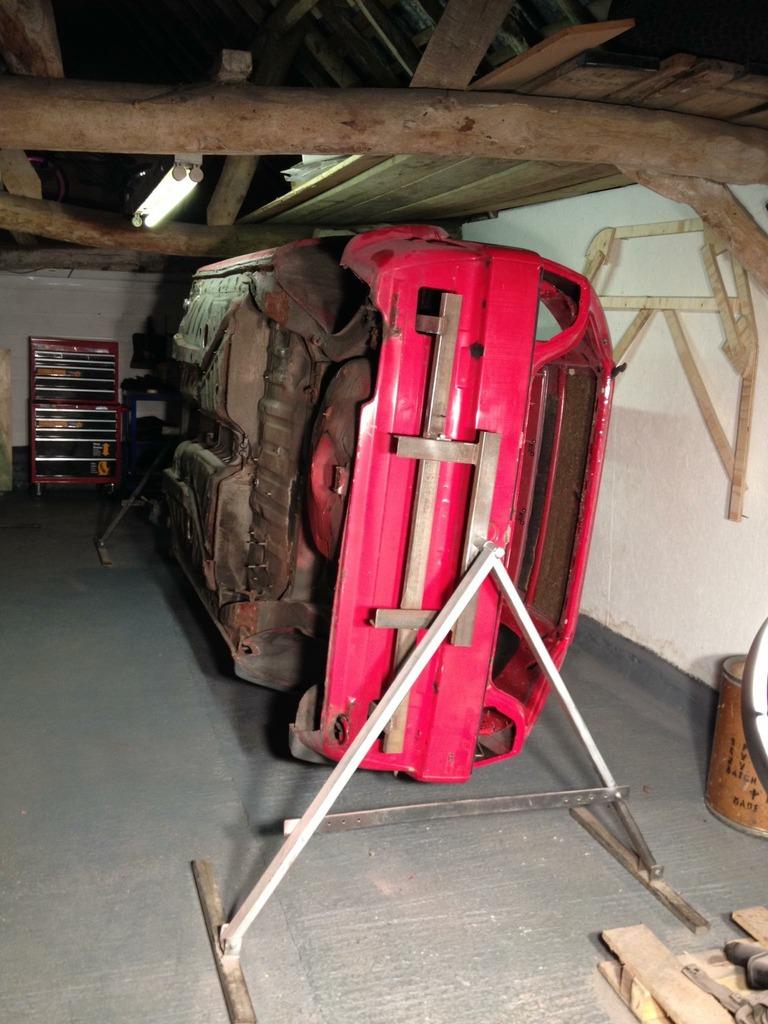
 The New Shell:
New 16v GTI shell being collected with the trusty MK4 GTI lugging it home from Kent.
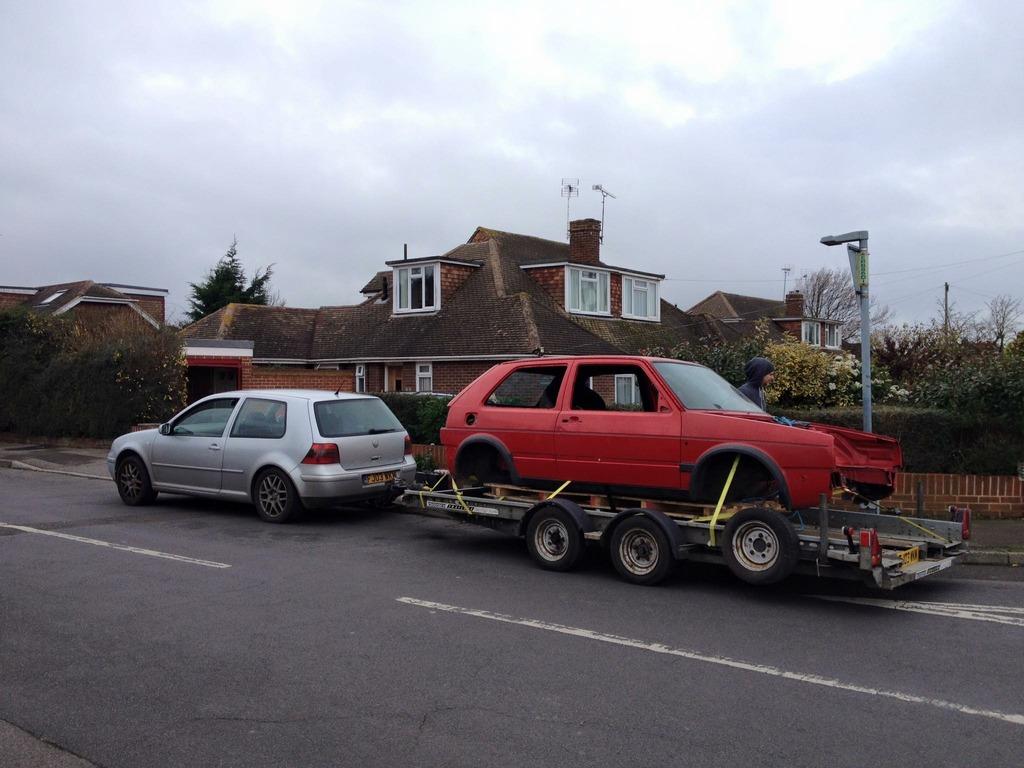
I managed to pick up a complete Rallye rear end the week before so that will form the basis of the new car.
Into her home for the new few months/years
 Strip Down:
 Stripping Underseal and sound deadening…..again. Well over 20kg removed which will help with the final target weight.
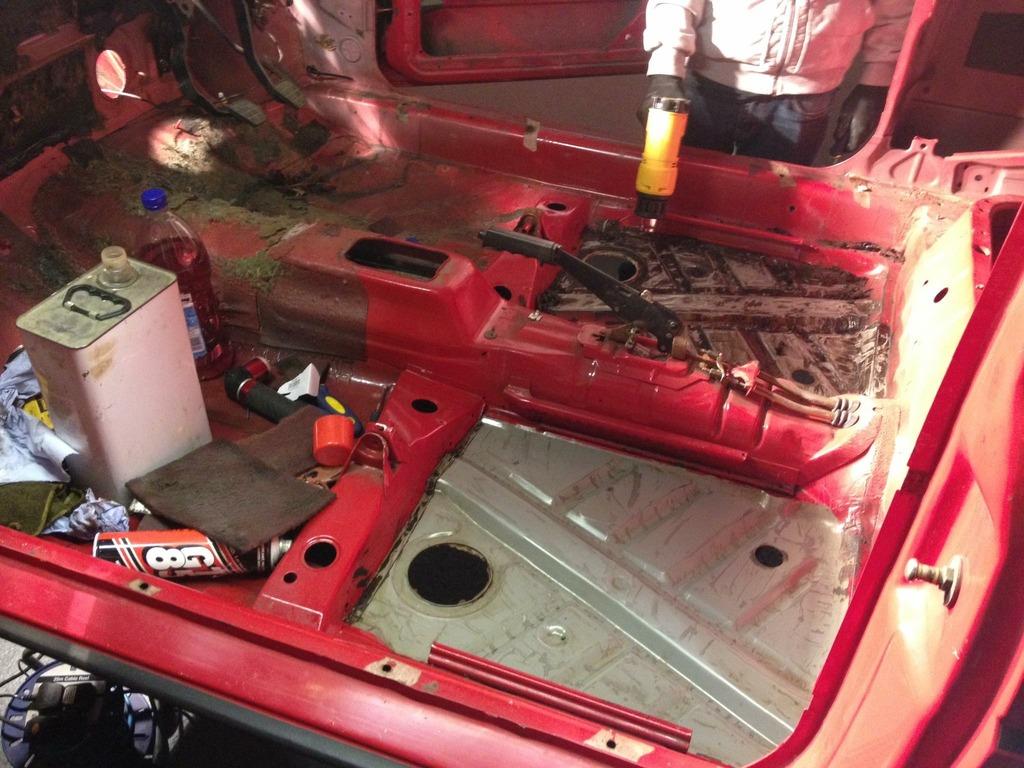

Also removed the rear bench support, more weight gone.
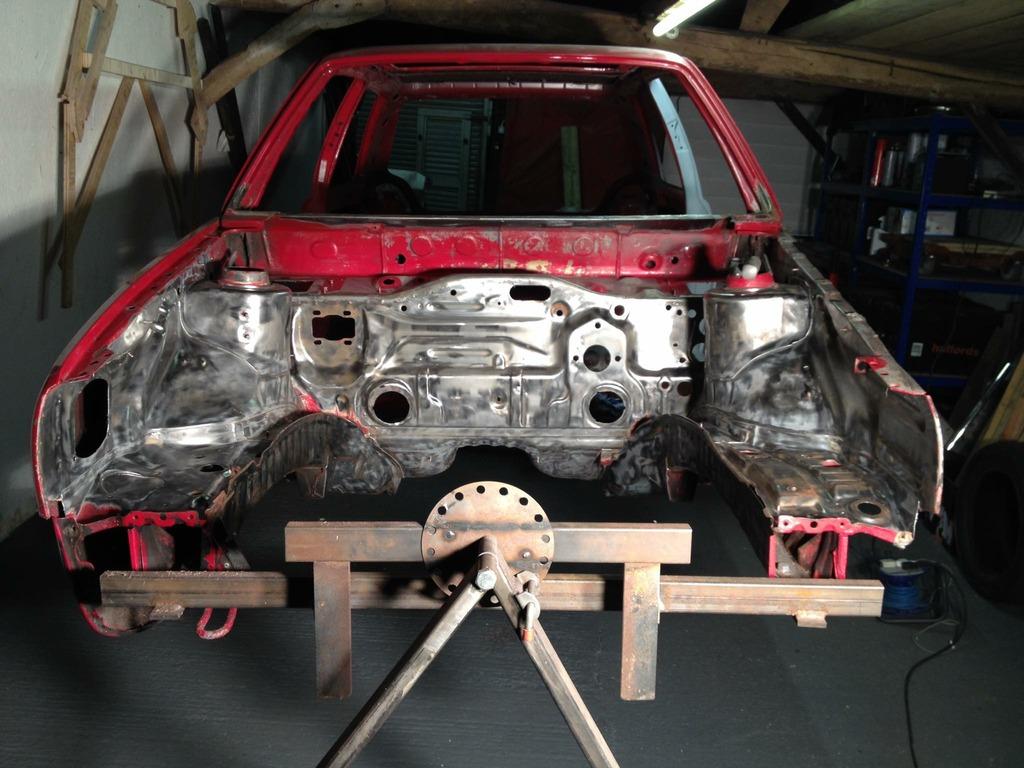
 New Panels:
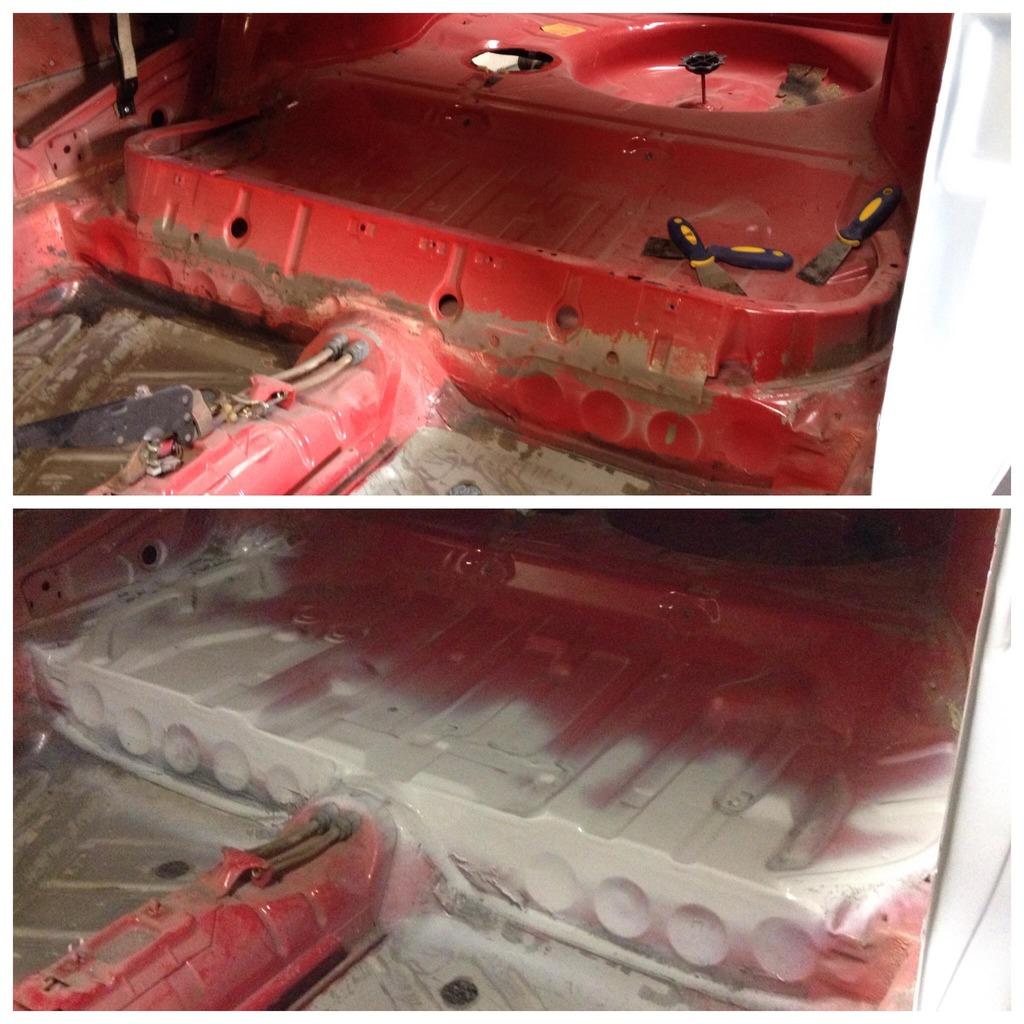
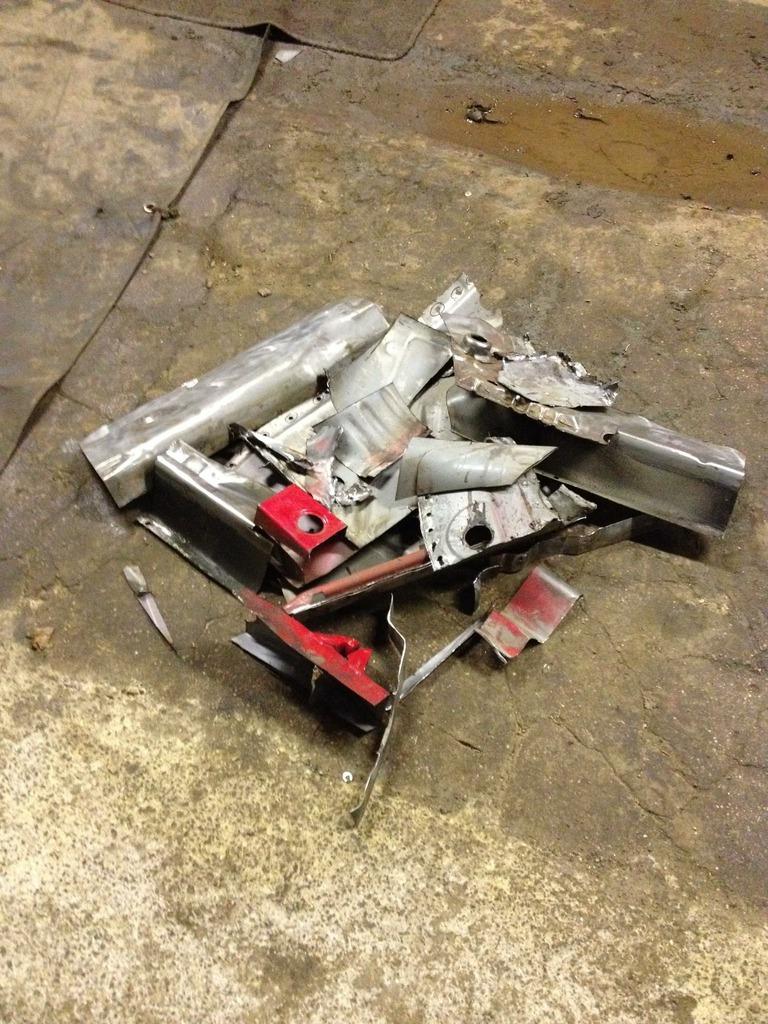
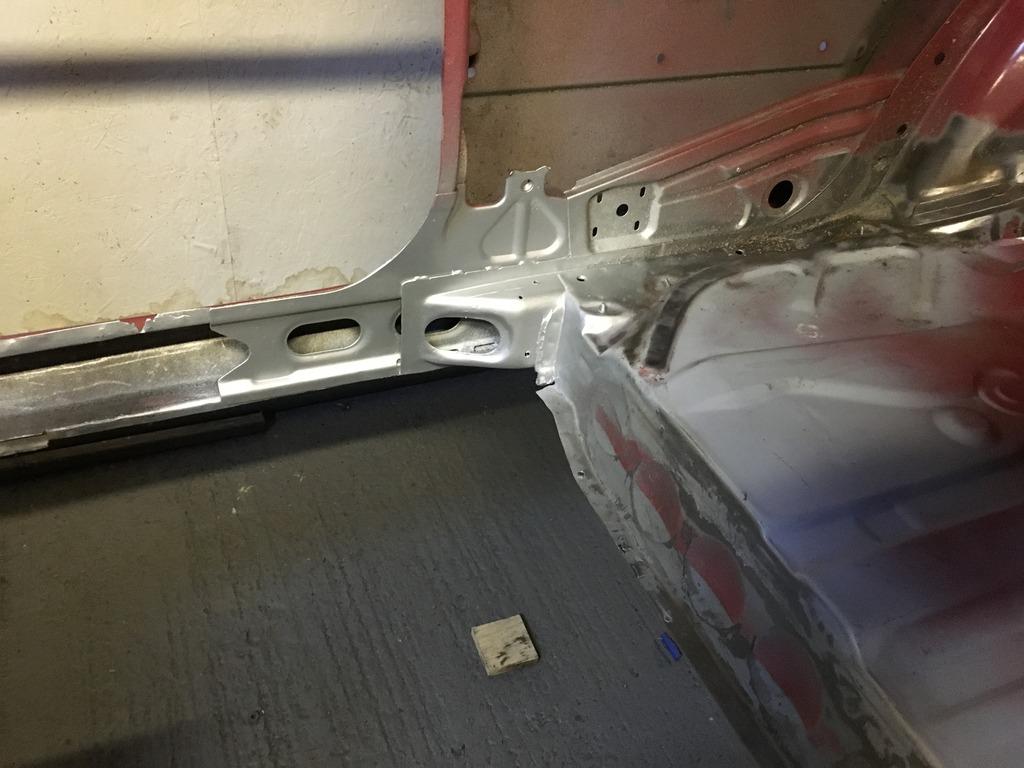
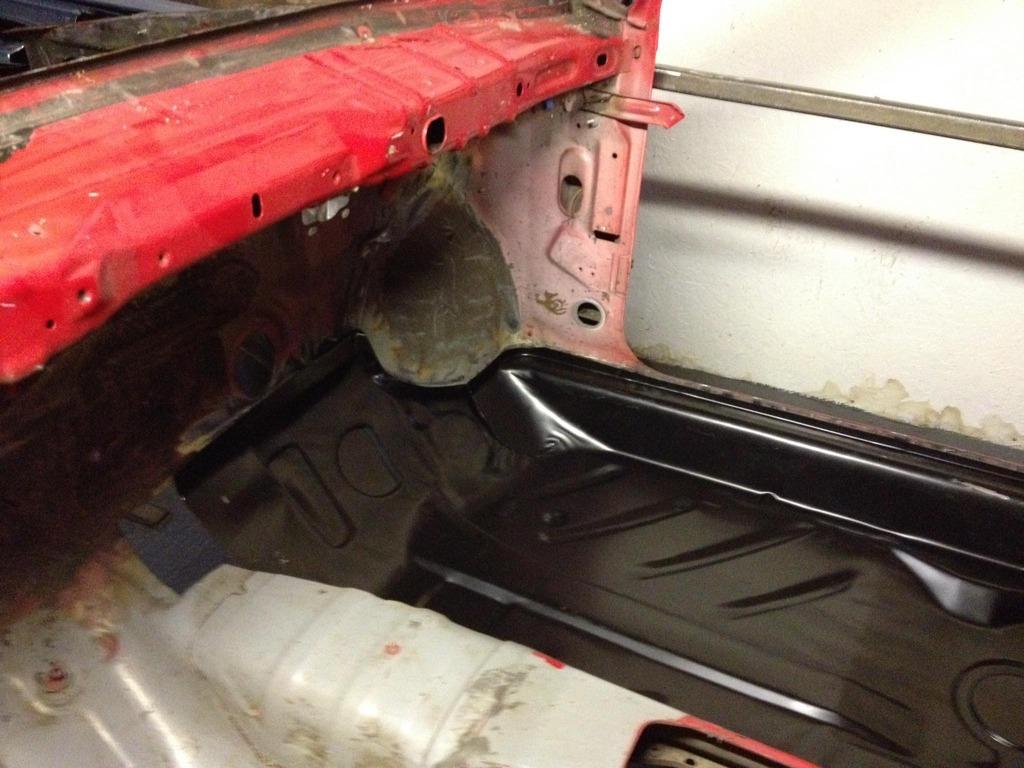
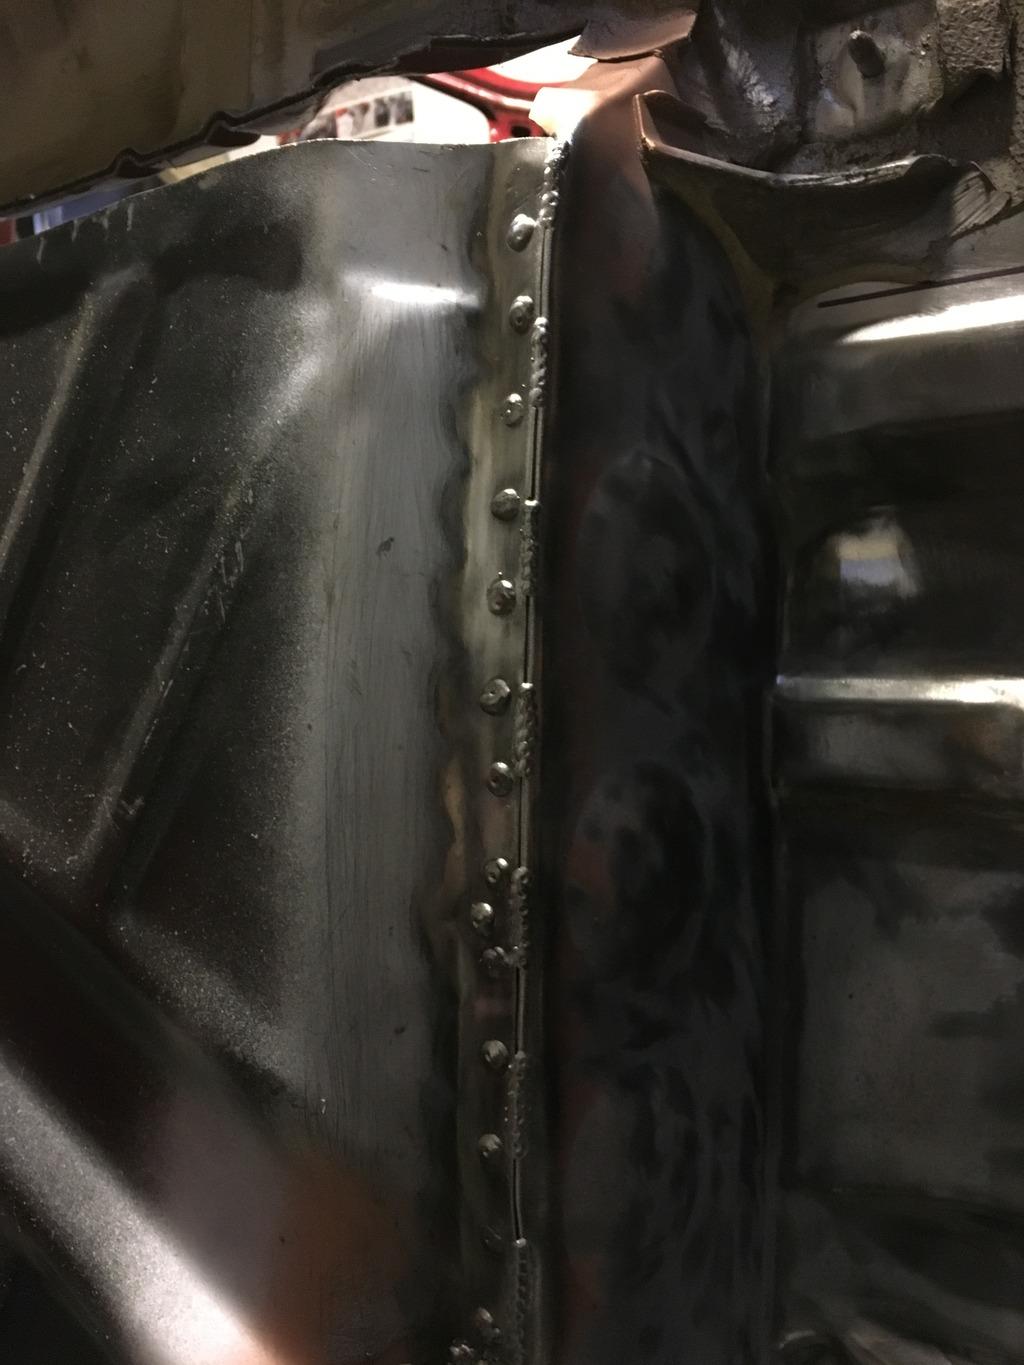
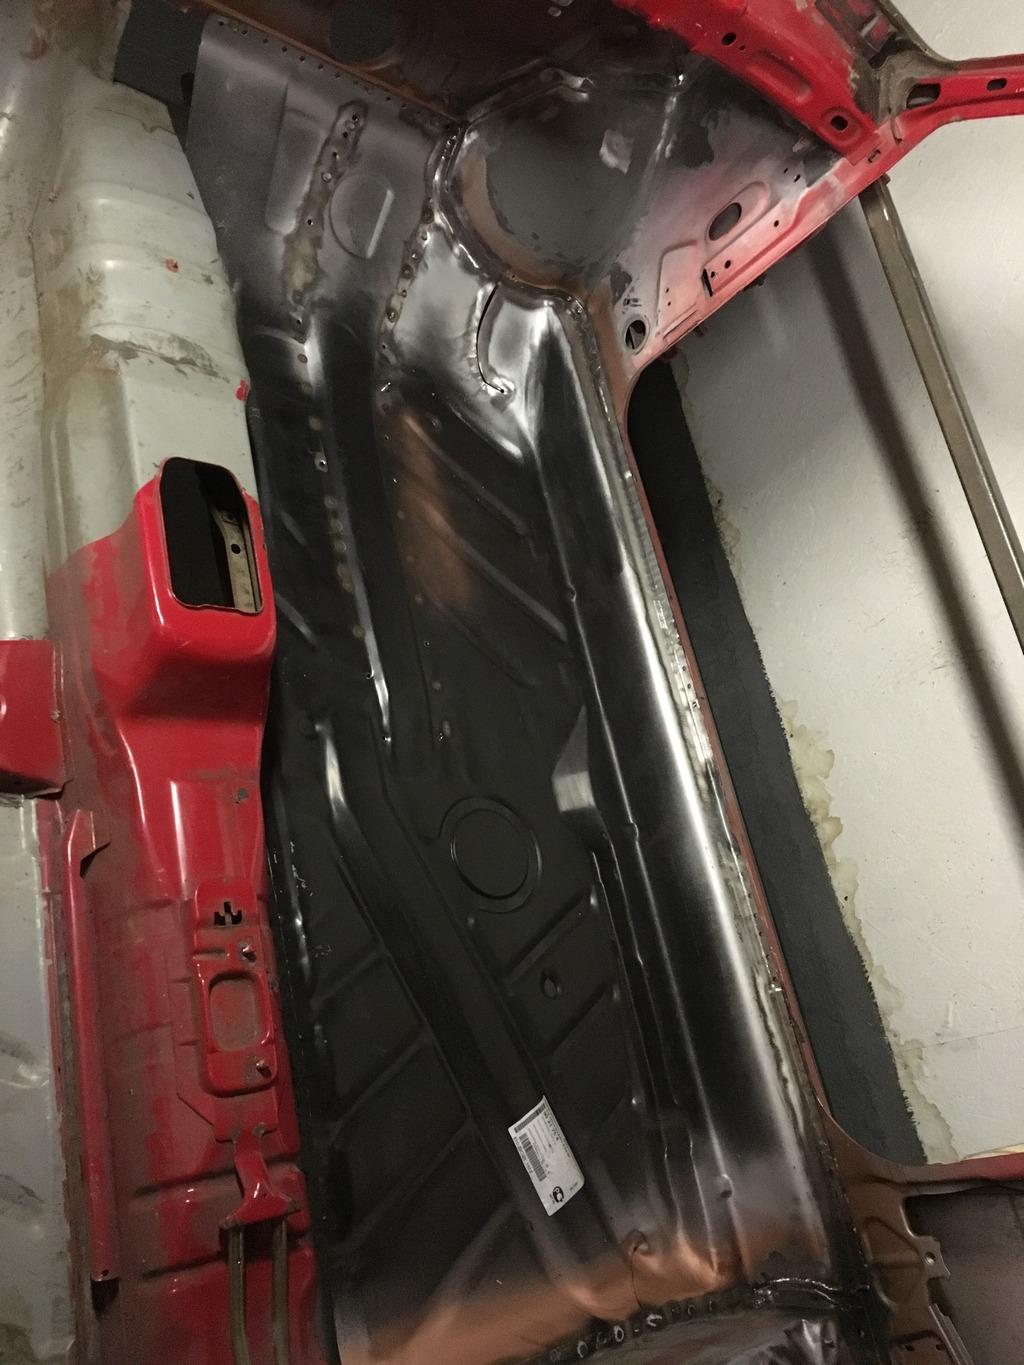
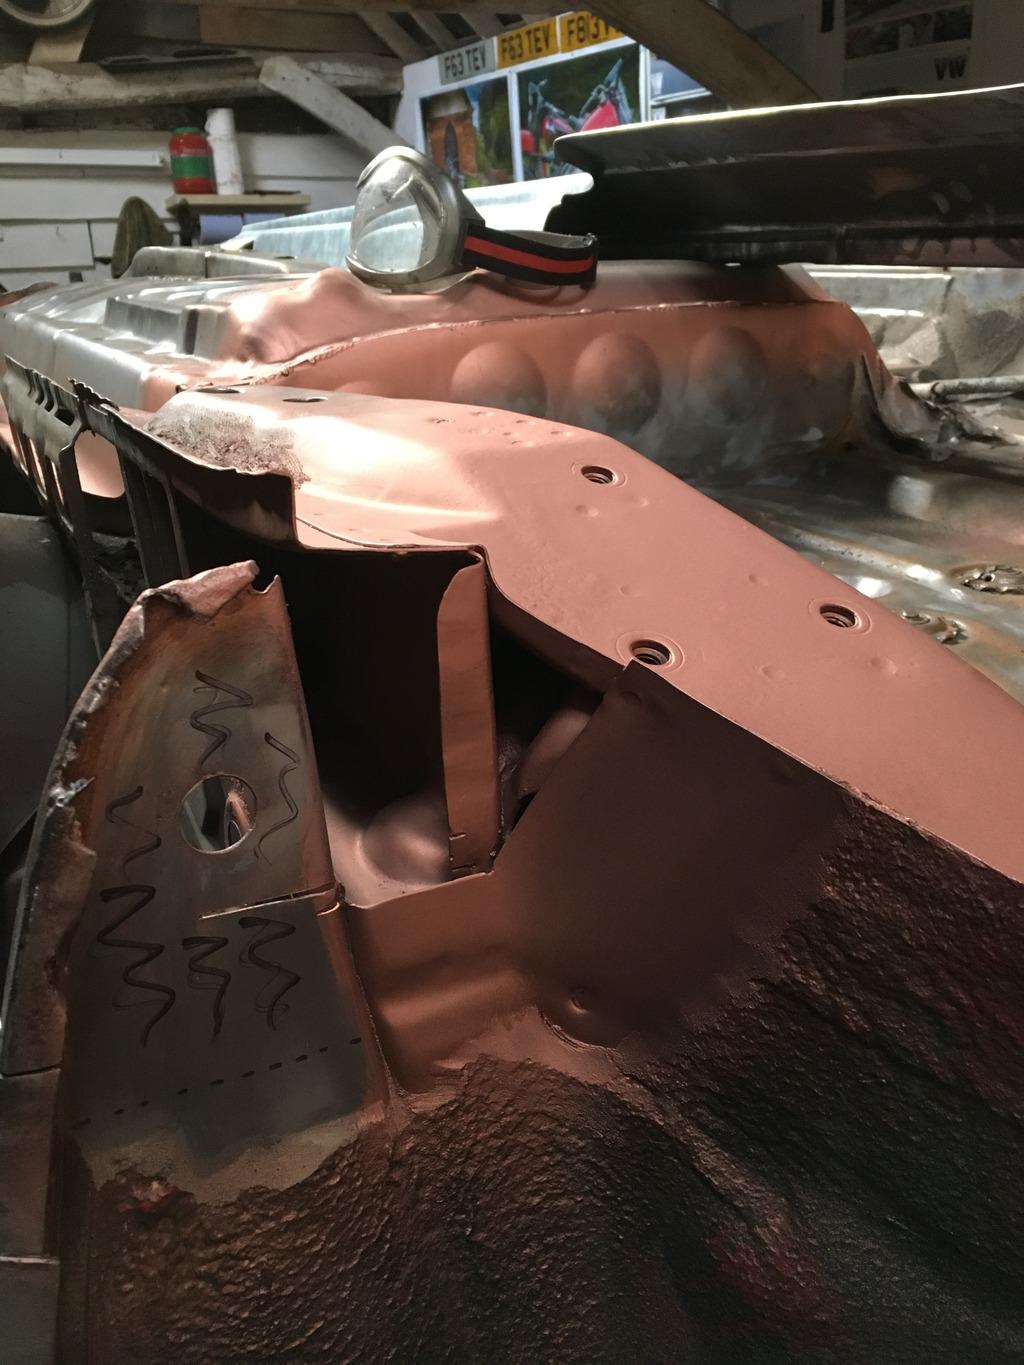
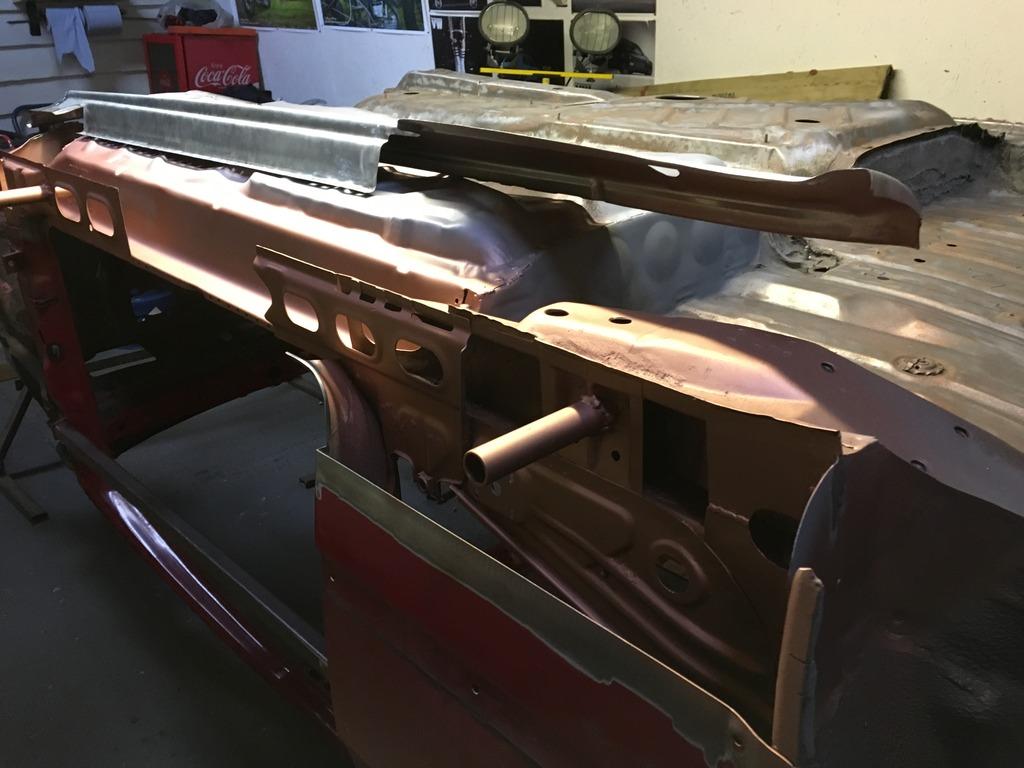
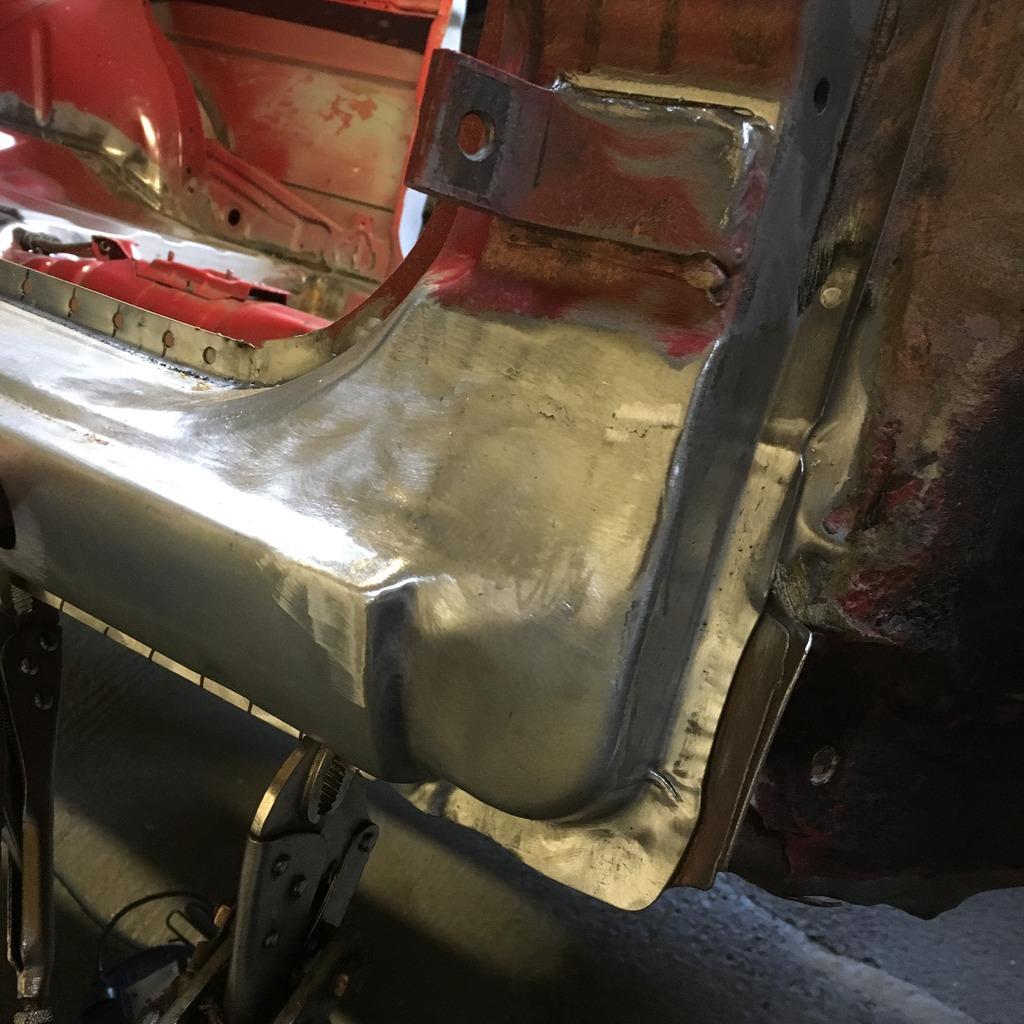
 Once the car was stripped it was clear that the shell wasn’t as clean as first thought. Although the floors could probably be repaired in sections, I didn’t want to have a patch work quilt so replacing the whole lot was the best option. A brace was made to run across the door aperture to keep things nice and straight. A few hours later and I got to this point. Out it comes!!
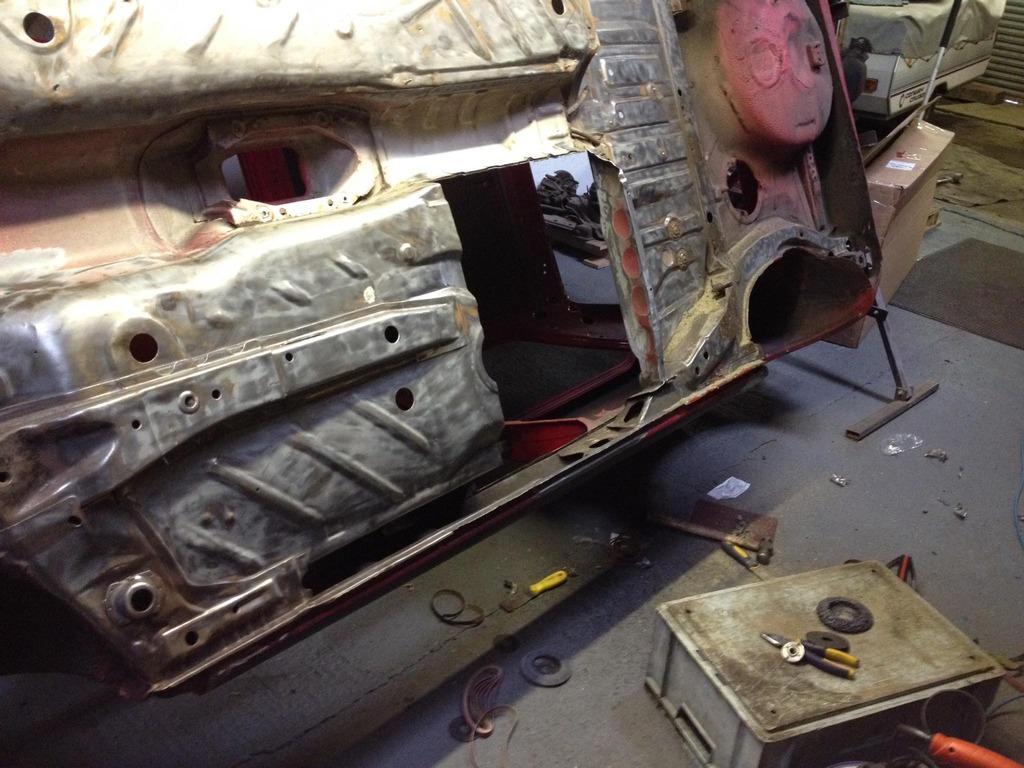
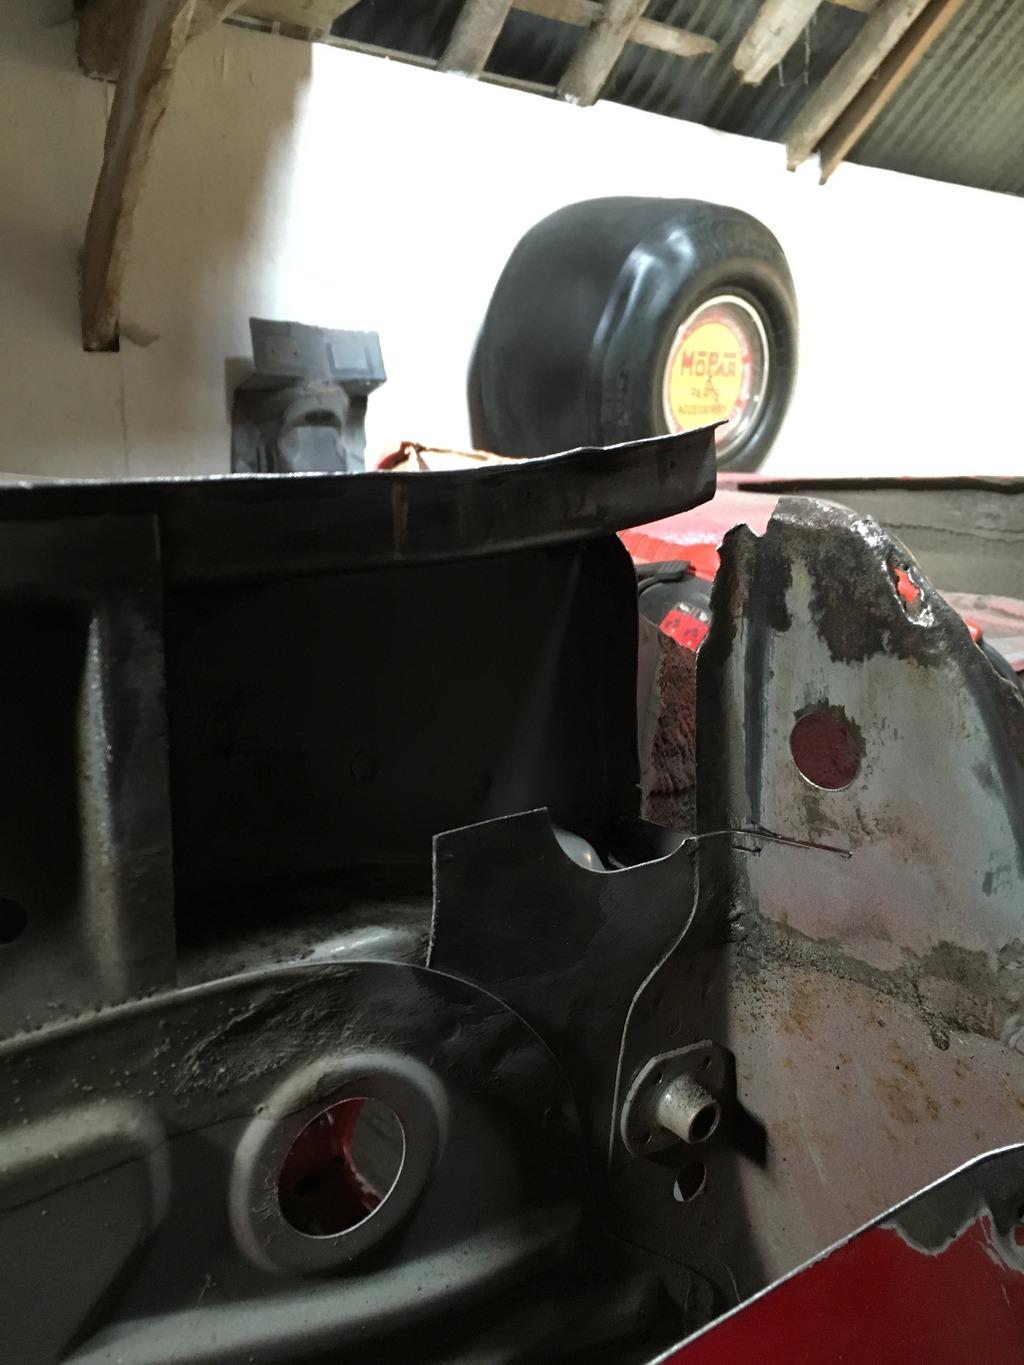
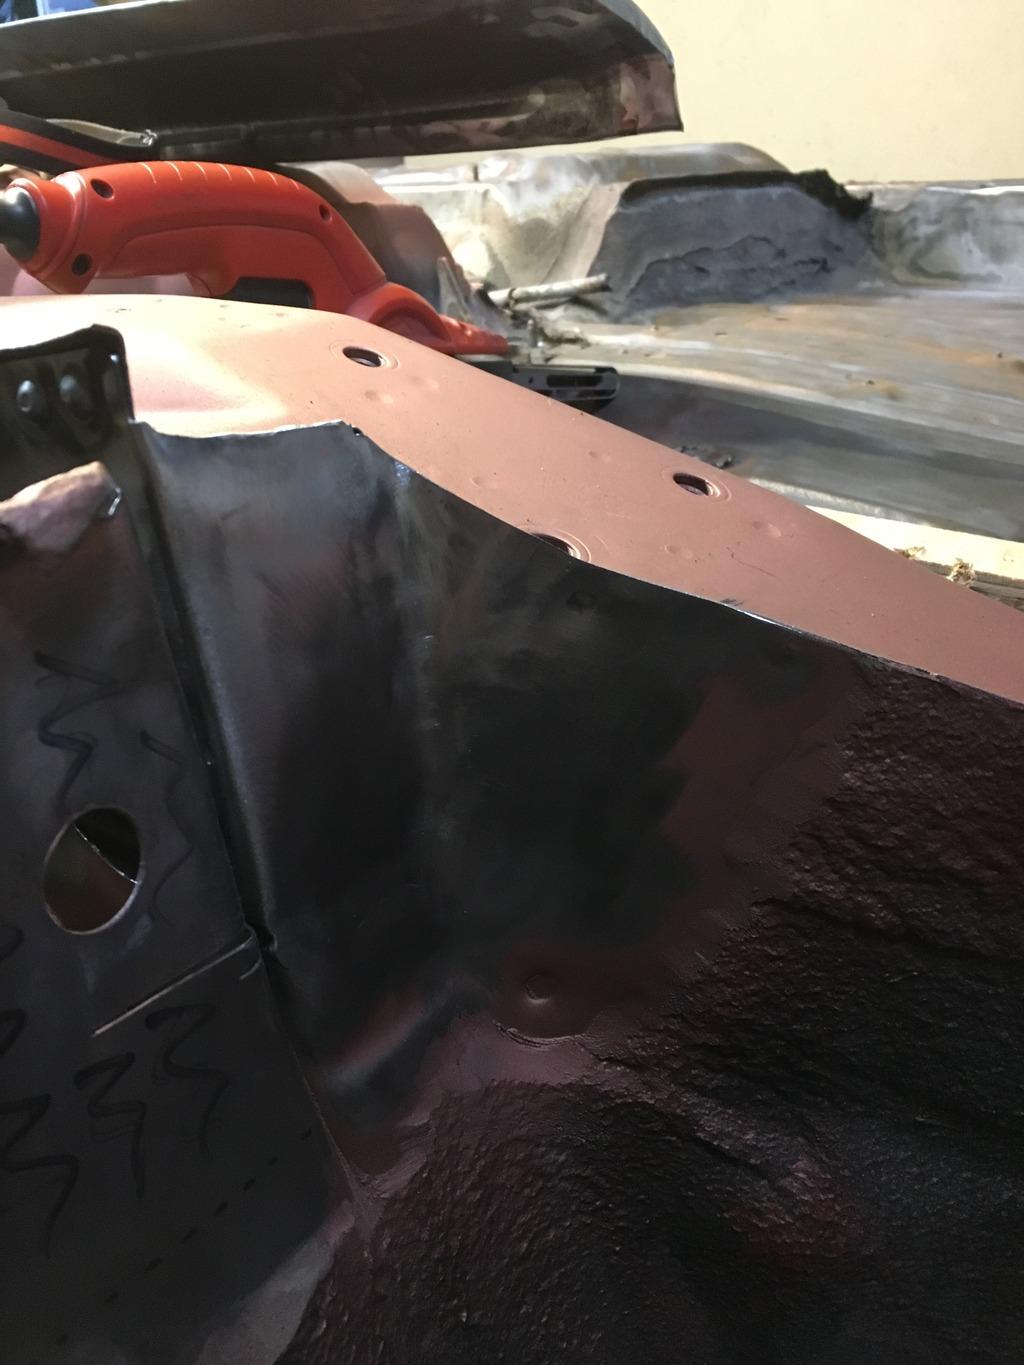
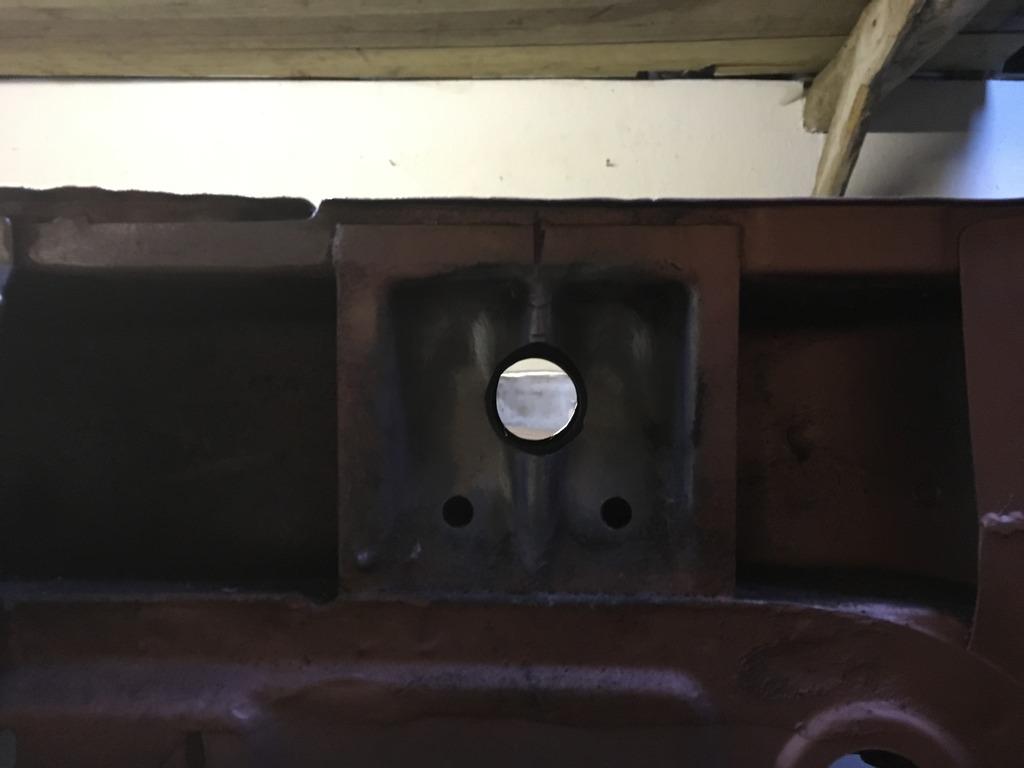
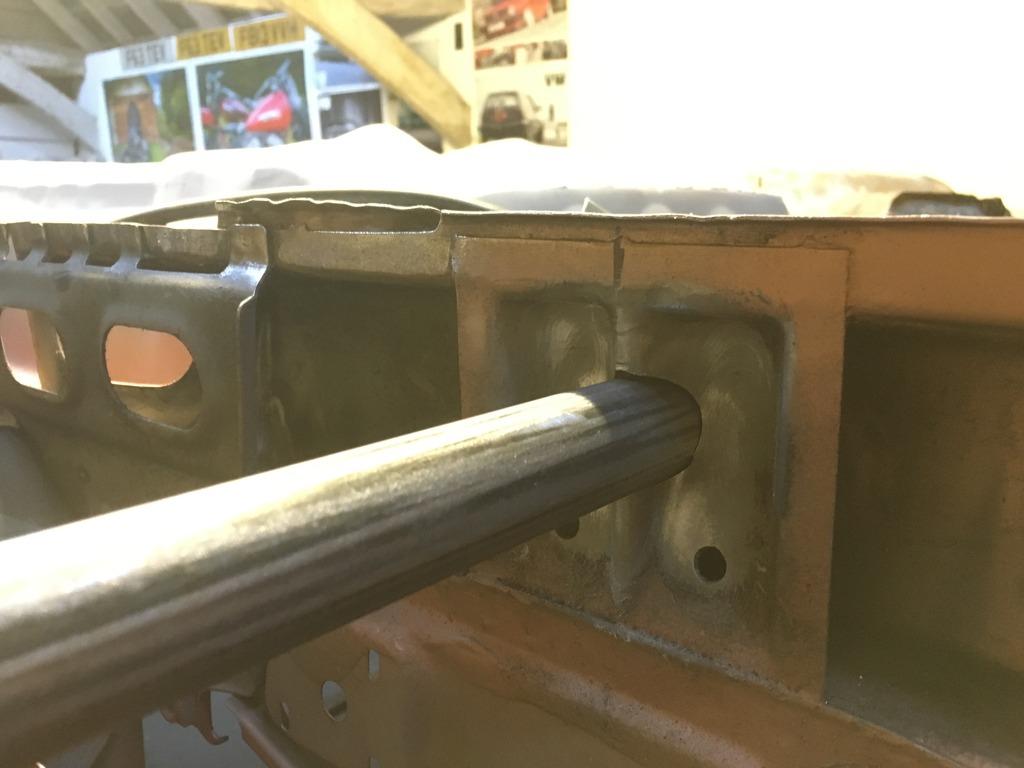
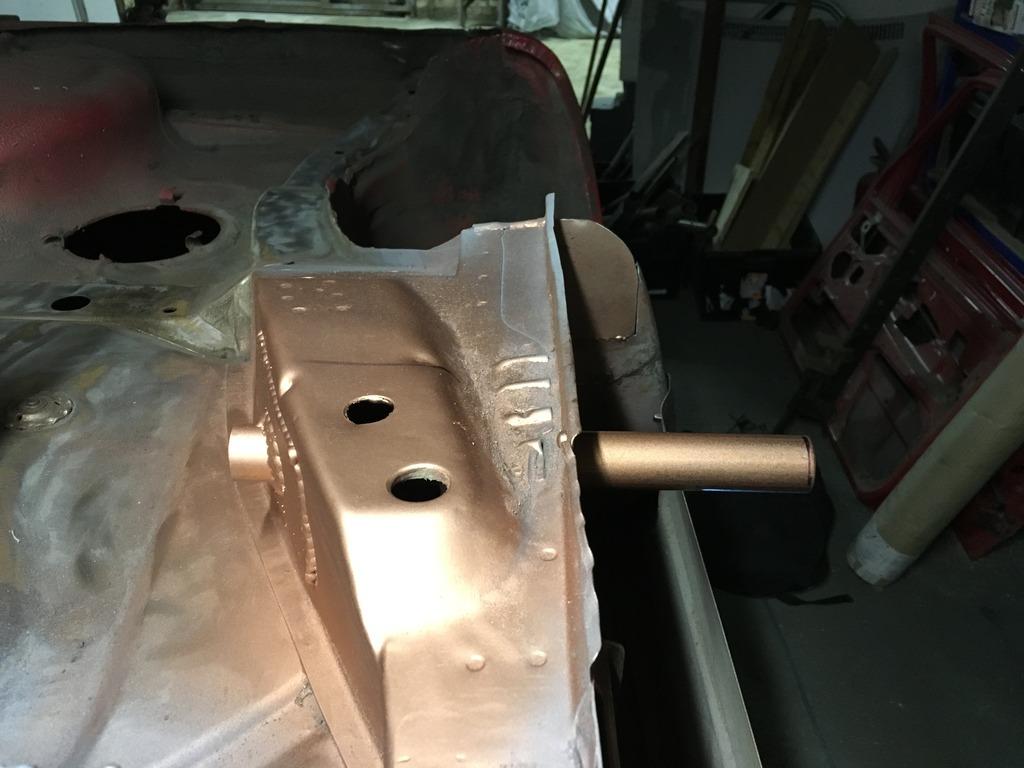
With the floor removed I could clean up the inside of the sills and the front chassis arms. This also meant the removal of a small piece of channel that the original fuel lines ran through. Which was a complete water trap and also rusted through.

A few phone calls to VW Heritage who were incredibly helpful and replacement panels started turning up.
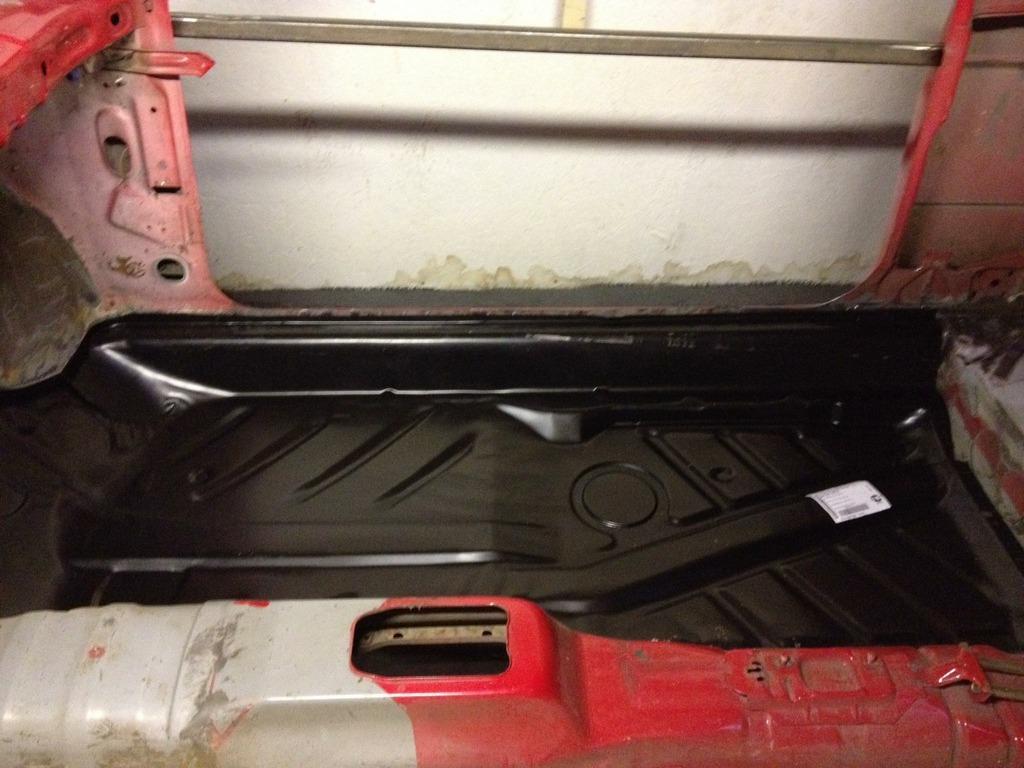
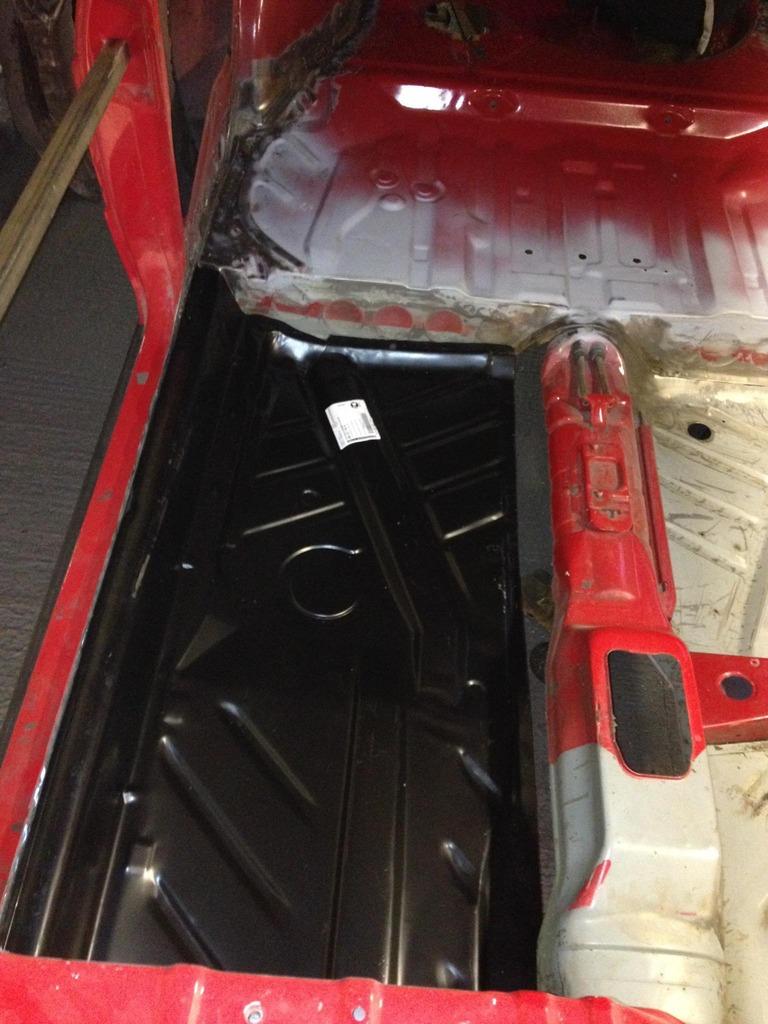
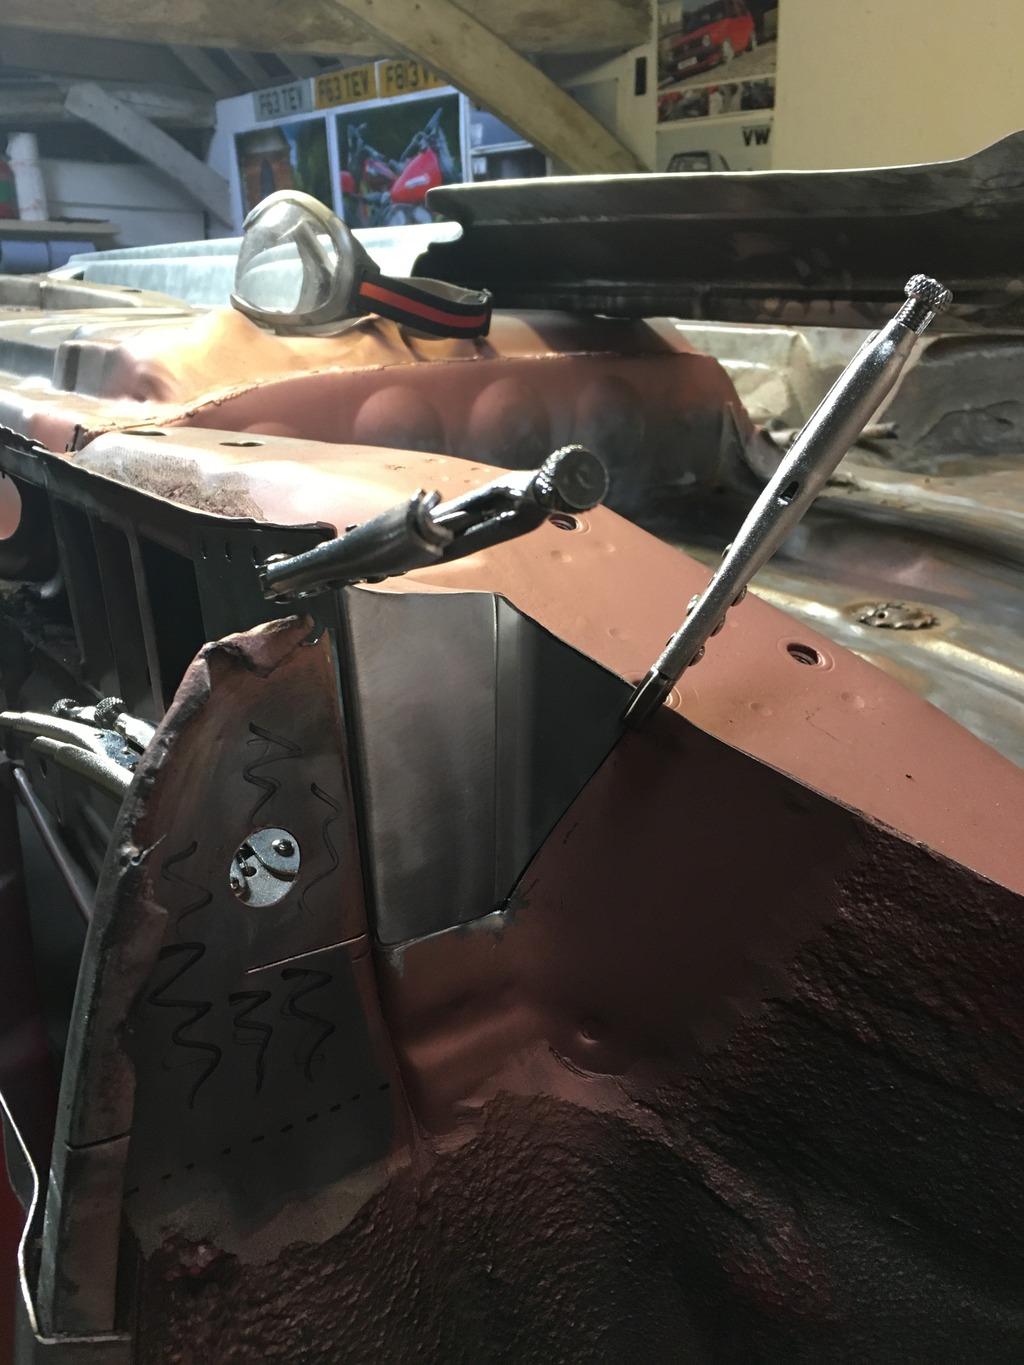
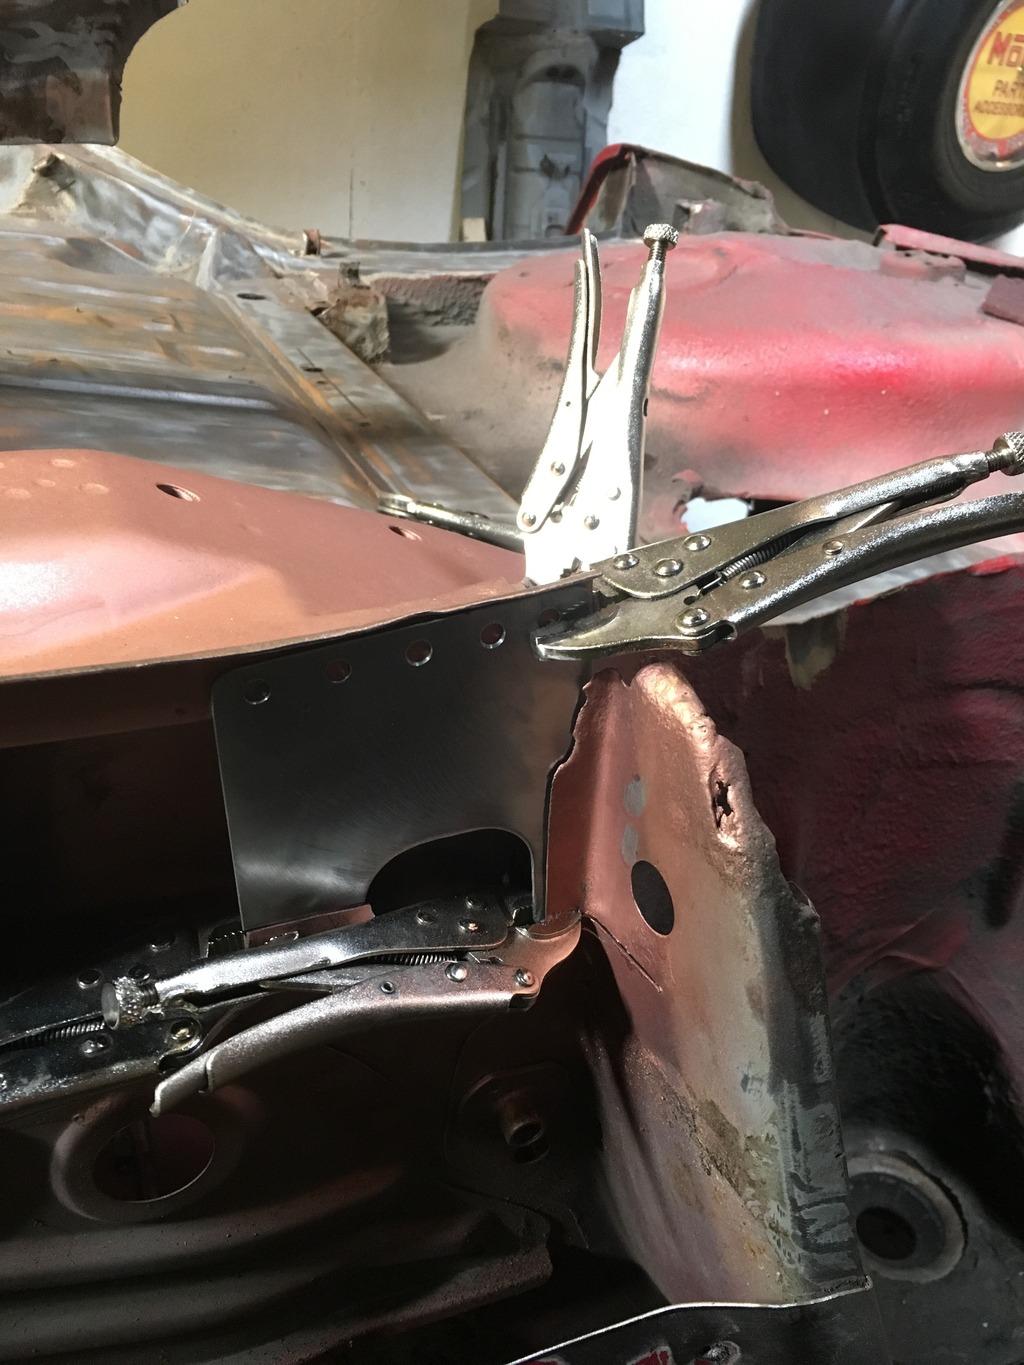
This also means I can replace the standard GTI tunnel with something more suitable to accept both the prop shaft and the 4” exhaust that will be needed. I will make this from scratch rather than cutting and pasting from another shell. This way I have complete control of mounting locations and where we position both the shifter and hydraulic hand brake.
Can never have enough of these!

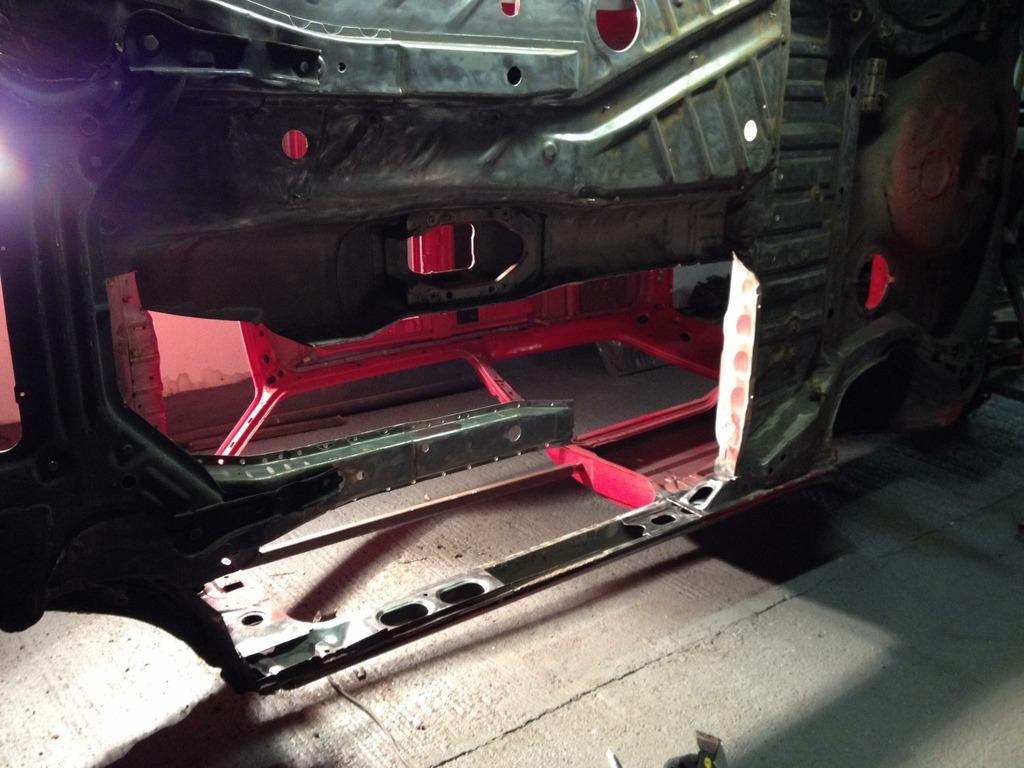
Welded in, just got to dress back the plug welds. I have not welded it to the fire wall yet as this may need trimming to suit the downpipe location. This will depend on which side the downpipe runs of the transfer case and prop.
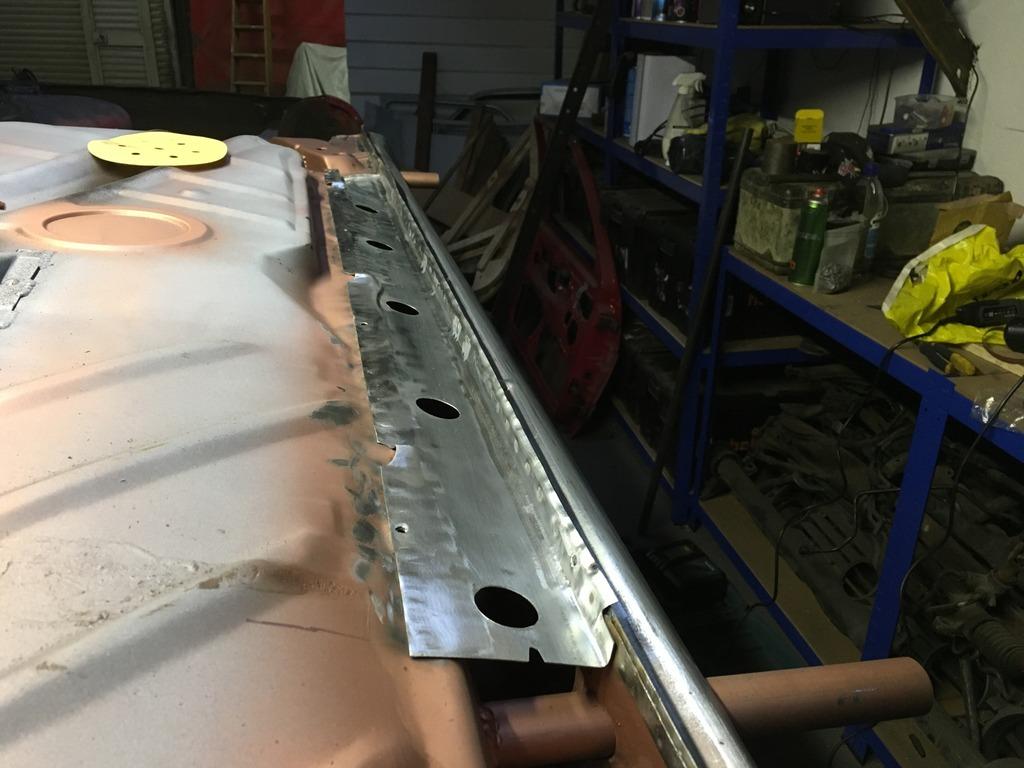
 Wheel Arch Repair:
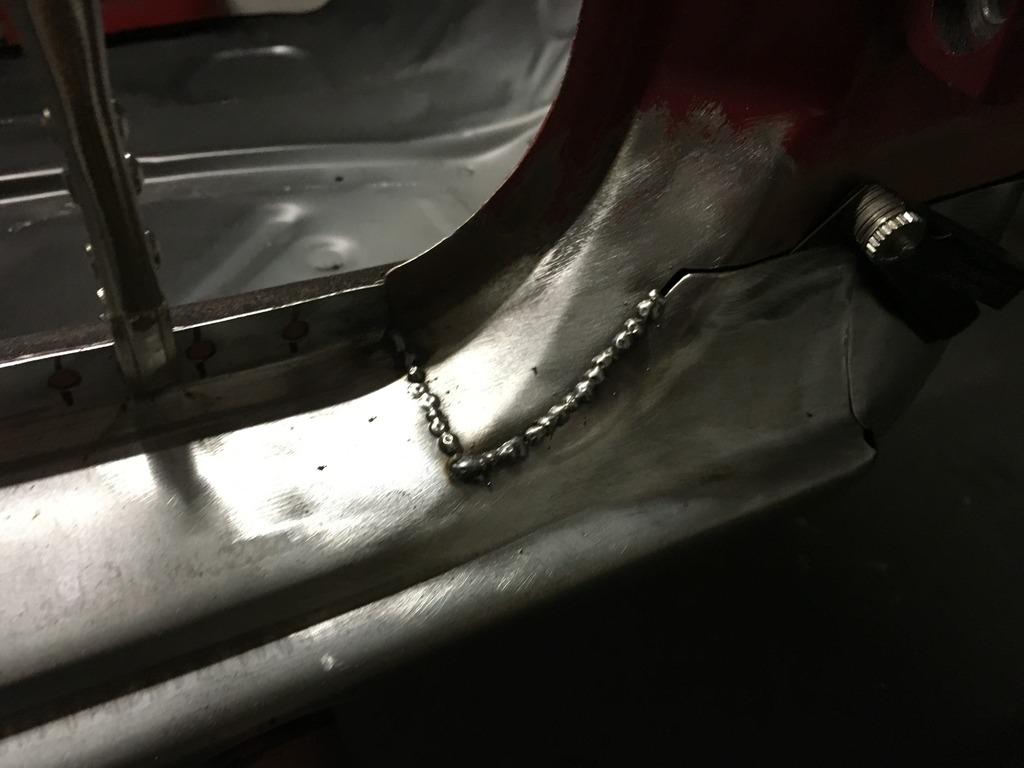
 With the new floor in it was time to attack the outer sill. Again it wasn’t in horrific condition but looking into things a little deeper I found more rot around the lower half of the rear wheel arch. It had to go! Out with the grinder again.

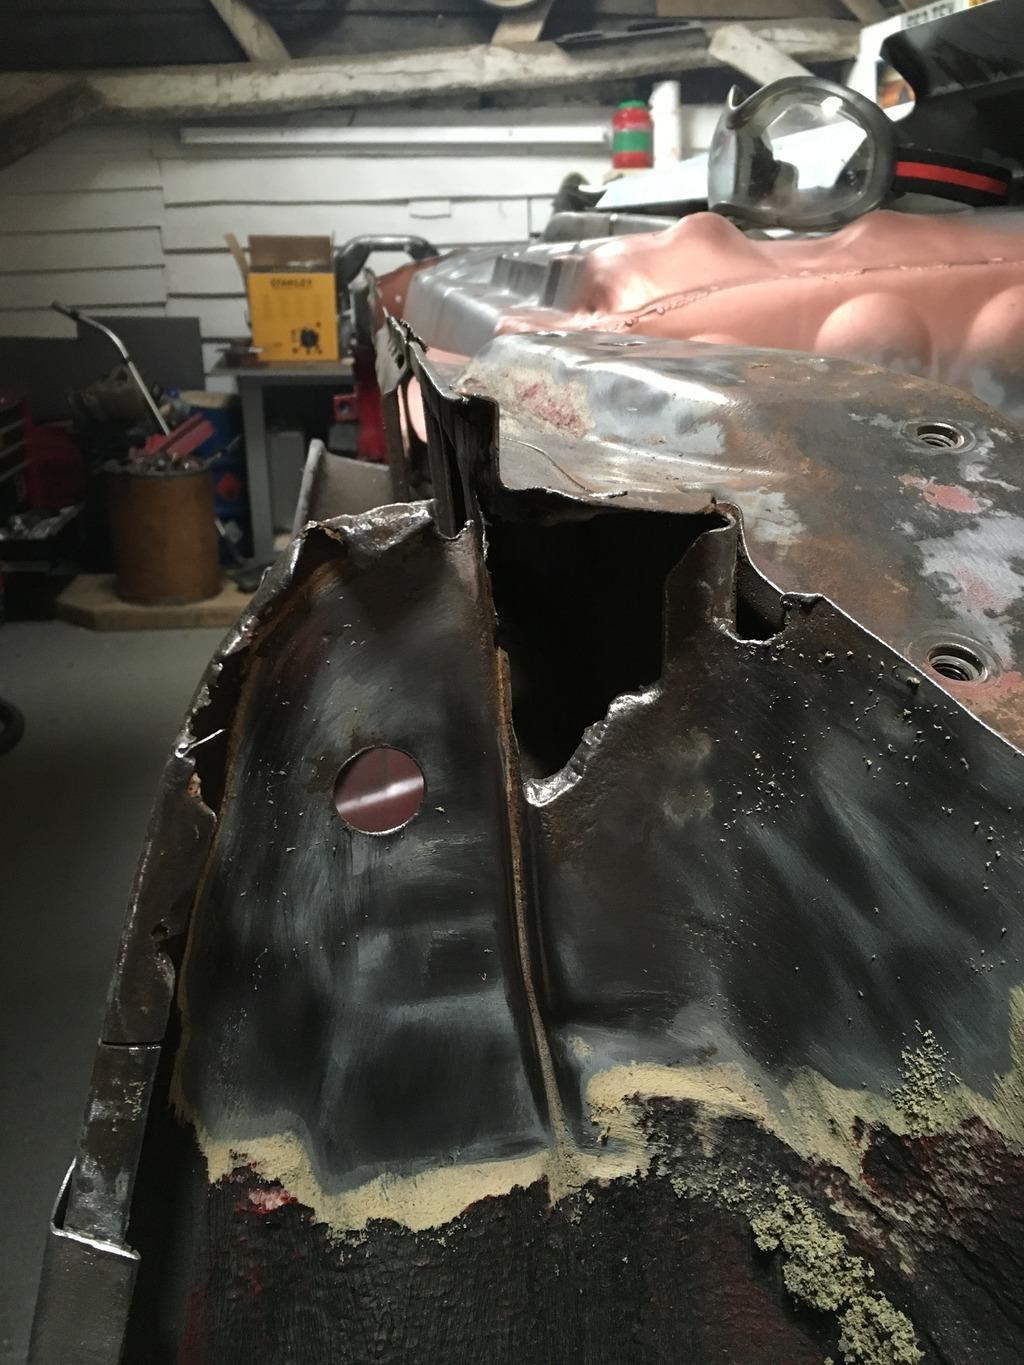
Once the outer sill was removed the full extent of the required repair was visible. Not only did the inner arch require attention but also the internal ribbing/sill supports that all of the above attached to.
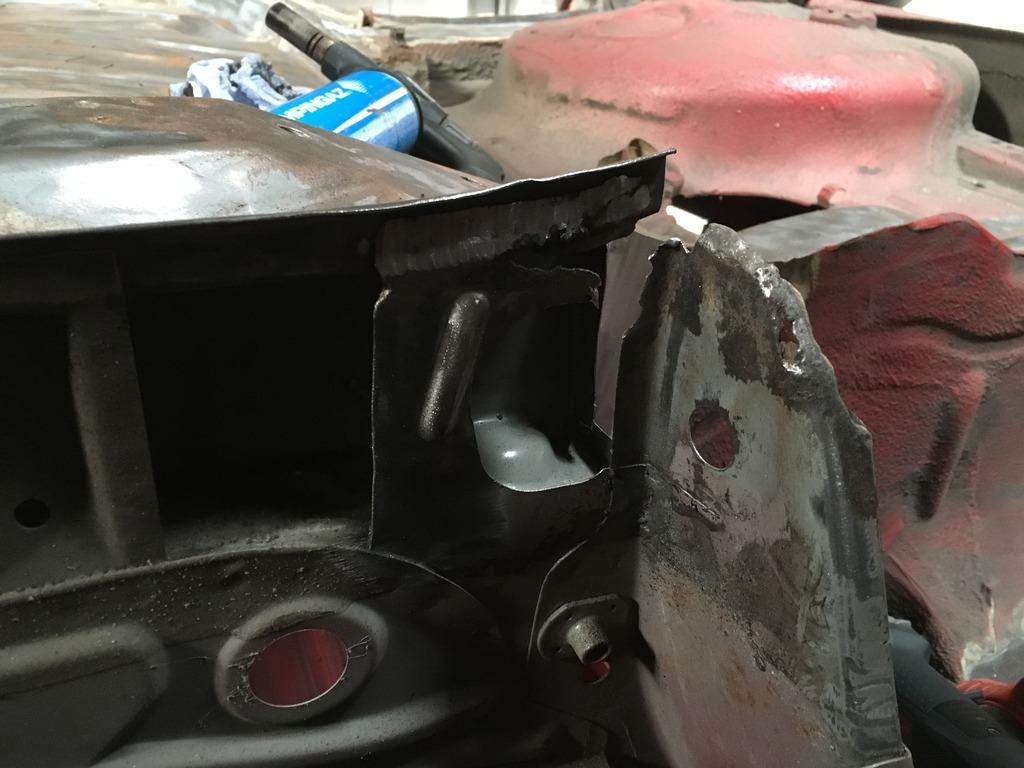
The rot was cut back to fresh metal
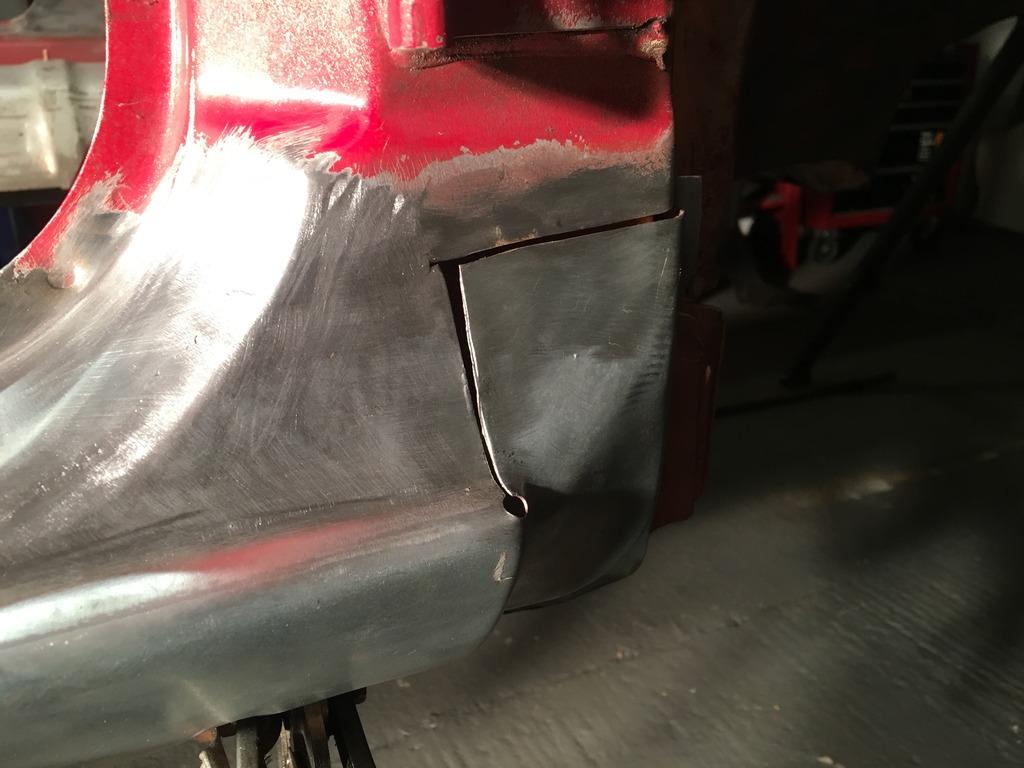
Time for some C.A.D (Cardboard aided design) so rebuild the supports and inner aches.

And replicated in .9mm CR4 steel
And almost done. Inner arch will be done at a later date as I will need to widen these to suit the slicks.
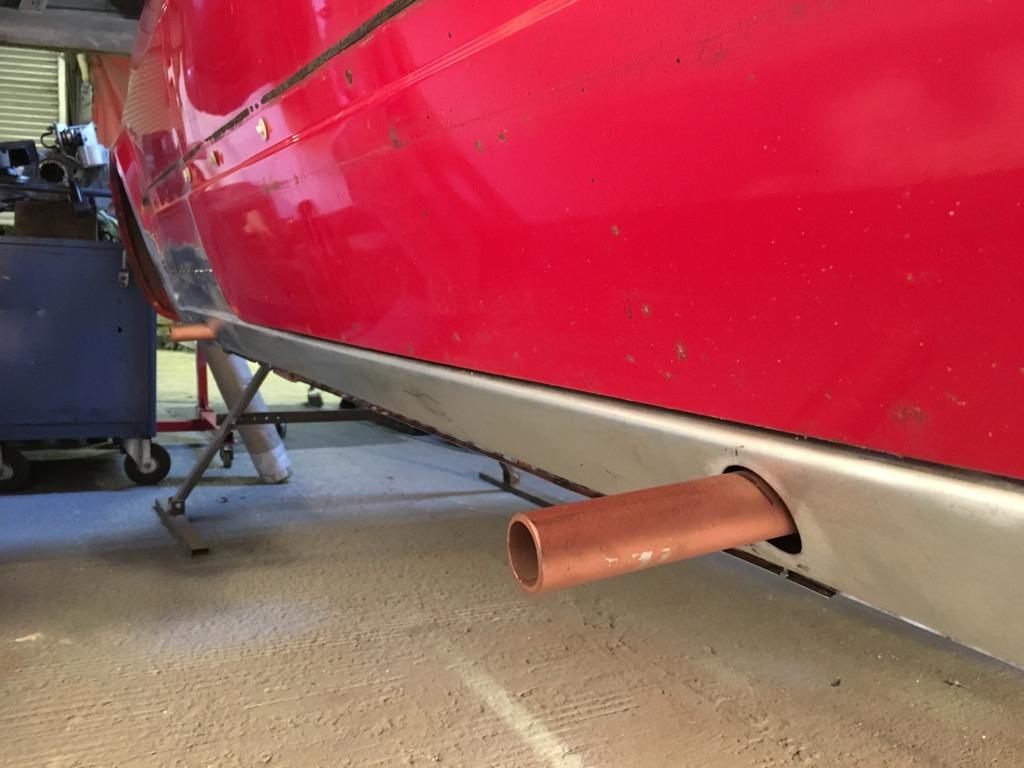
 Sill Stands:
 Before the outer sills got welded on I decided a race car isn’t complete without sill stands. Due to the nature of the car and what I will be asking it to do. It will break! Whatever I can do to make maintenance and servicing easier the better. The sill tubes are 26.9mm OD with a 3mm wall. Leaving an internal diameter of 21mm. the stands will use 20mm pins. Axle stands aren’t fun at the best of times so this is a much simpler and safer way of getting the car up in the air. We can also make different height stands to suit.
Example of the stands we are building
Drilling a hole through 4 pieces was quite a challenge
Tube test fit
All in and welded up, copy and paste to do the fronts then.
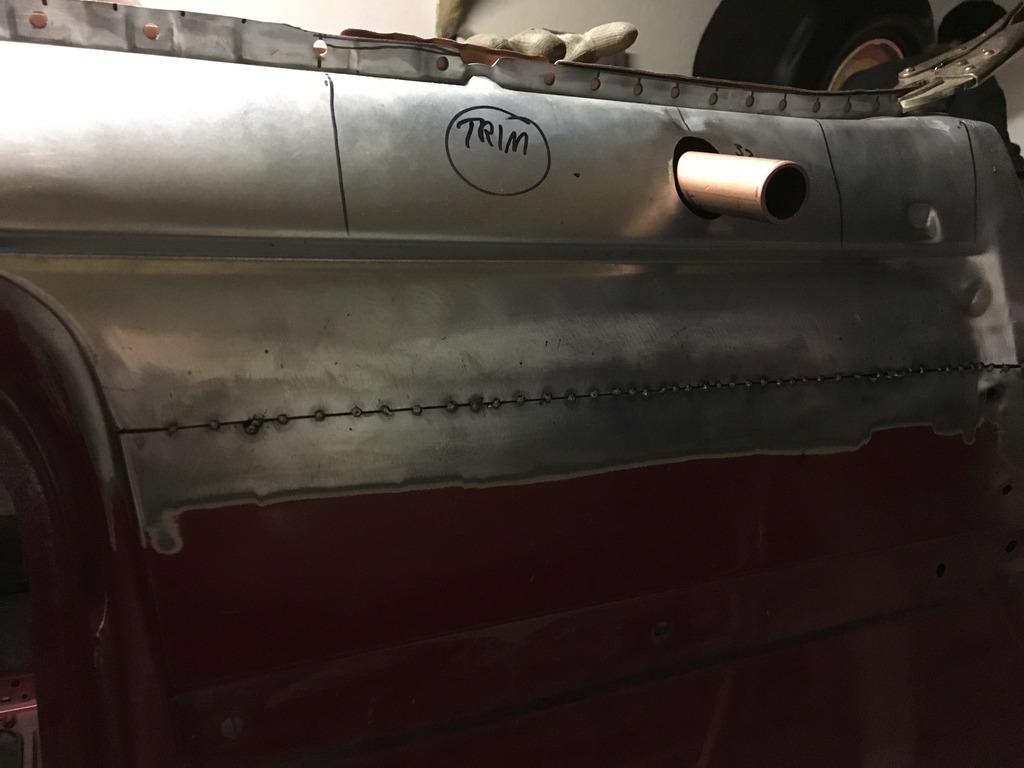
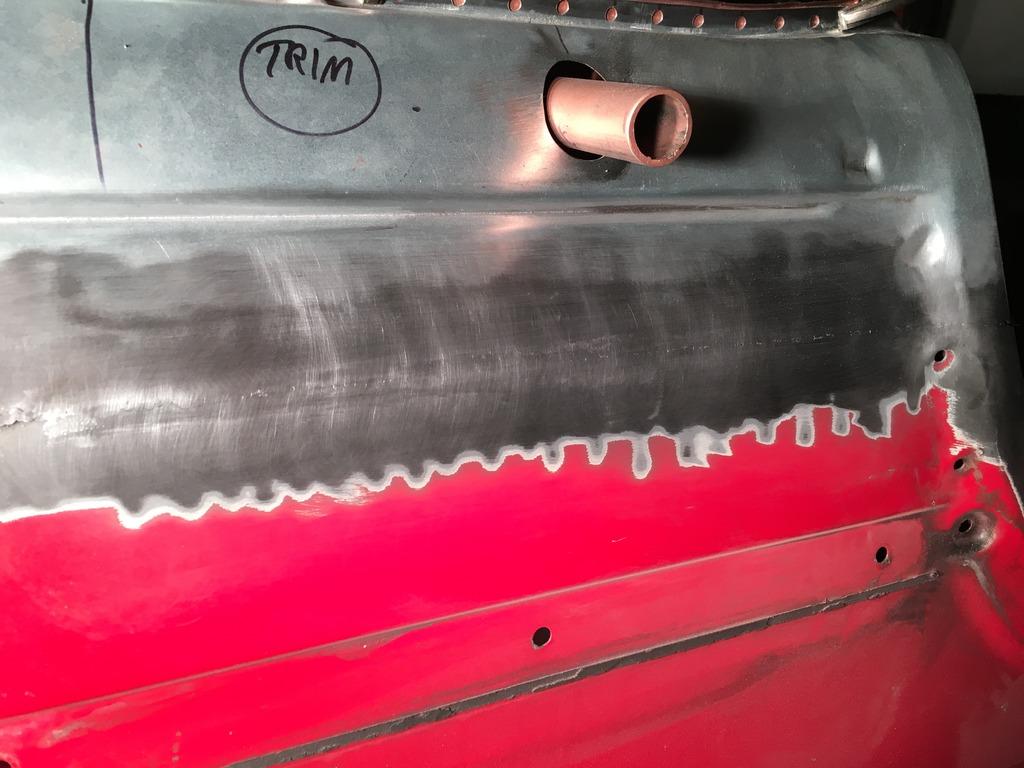
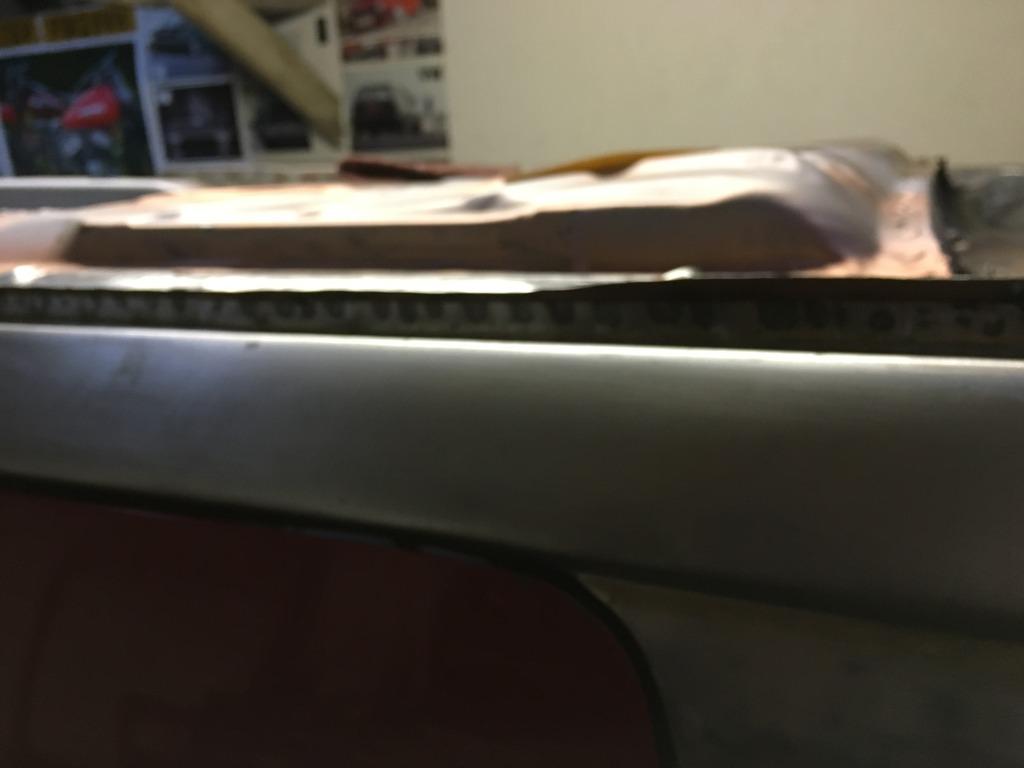
 Outer Sill:
It was time to start the task of lining up the new outer sill. Having never done anything like this before it was certainly a learning curve. Talk about jumping in at the deep end. Welding thin sheet was not something I had ever had to deal with so took a fair few practice goes on some scrap panels before I found some decent welder settings.
Inner sill painted with weld through primer, will protect it long enough before it gets filled with wax oil again.
Rear quarter join, certainly not perfect by any means, will need some more work prior to paint
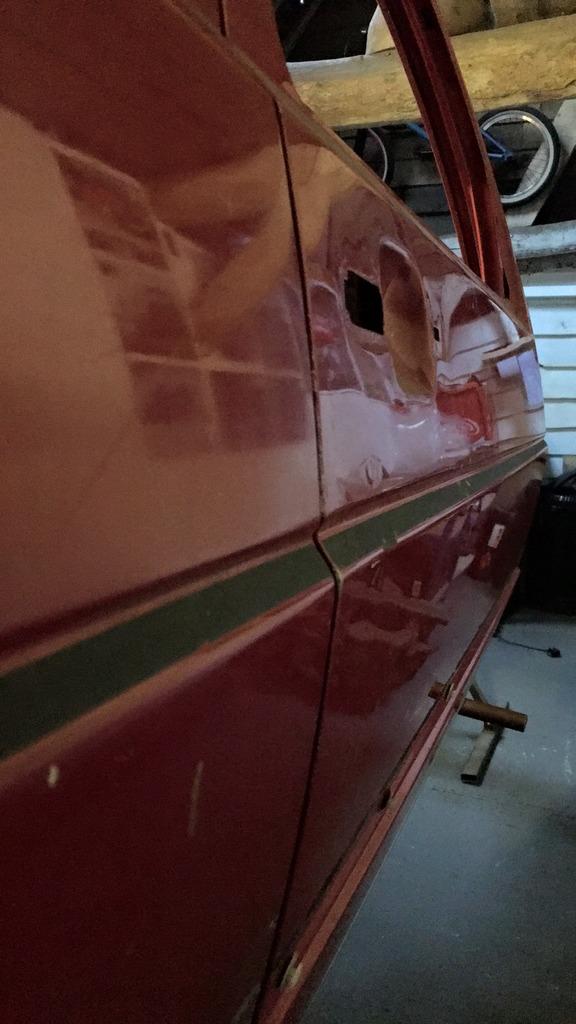
Rear of door join
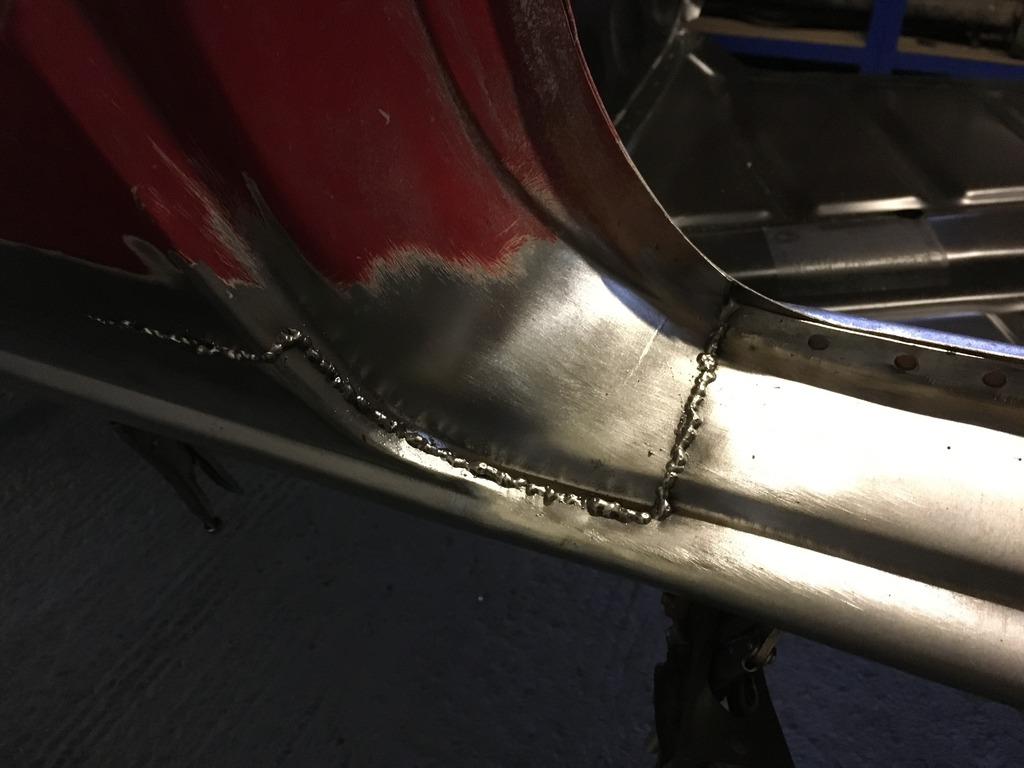

Front or door join
Joining piece, spot welded and plug welded
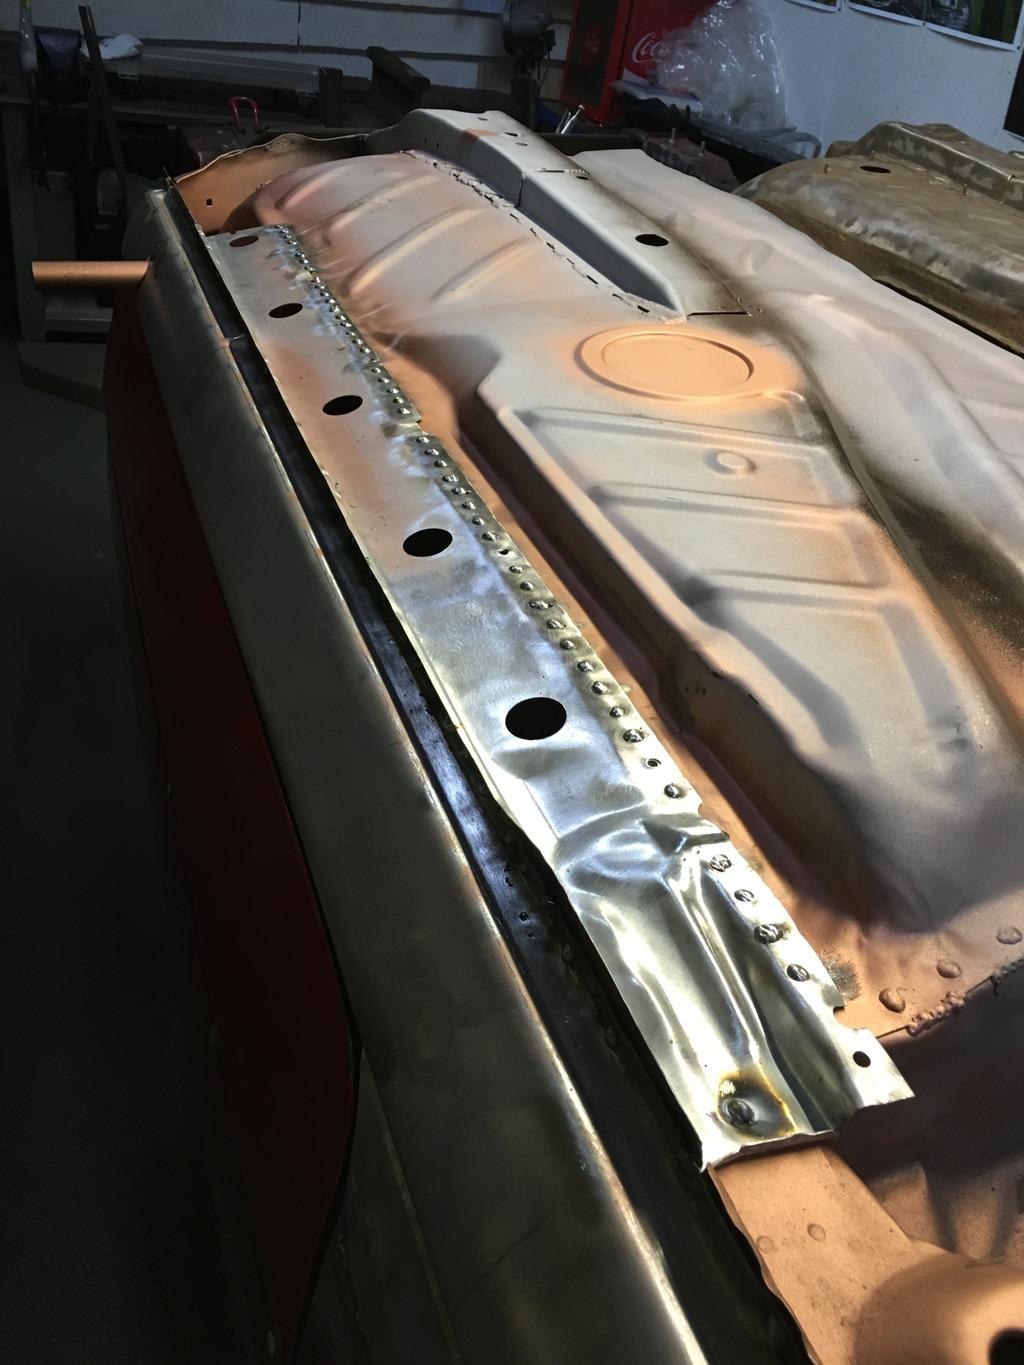
Linished back
Panel gaps are pretty consistent all the way round. Keep having to tell myself it’s a race car not a show car! Sill stands still need to be cut down and be plated in.

That’s all for now, got the exact same to do on the other side. Replace the scuttle panel and rear valance and the shells ready to have the roll cage built. This will be a 4130 cage spec’d up to 8.5 ET.
Sean

