Hey Everyone
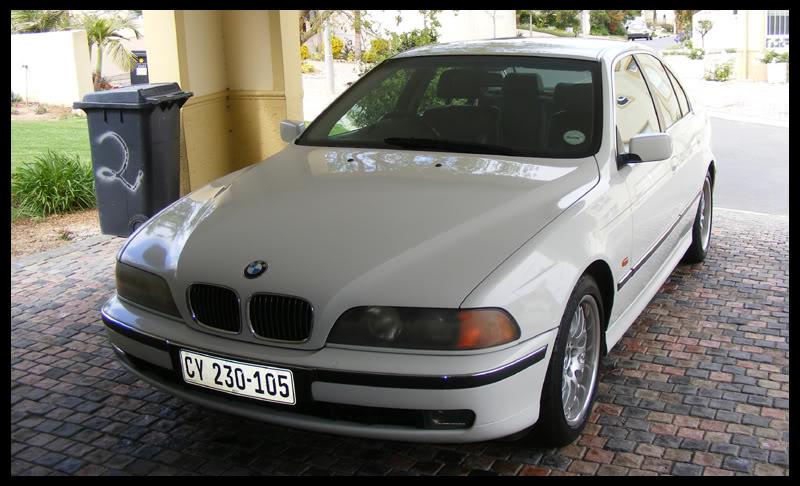
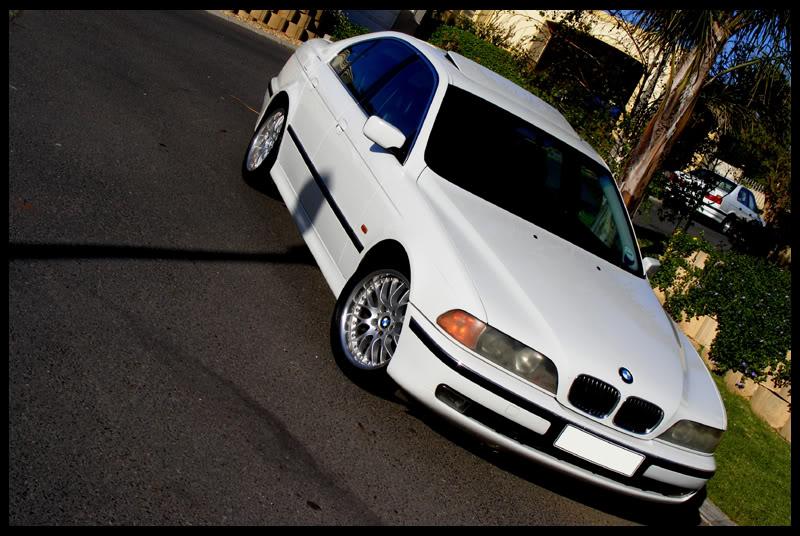
I am happy to share a detail I did for a fellow fanatic who recently acquired a beautiful BMW E39 540i.
This Beemer was booked in for a Full 2 day detail.
I arrived at the house in anticipation, looking forward to working on this beast of a car. After chatting for a bit we got the car outside and assessed what needed to be done.


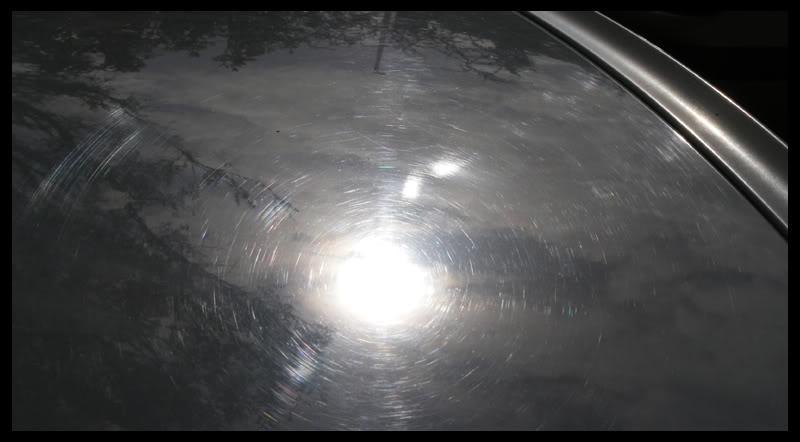
It was immediately obvious that although a very well kept car, the paintwork had been neglected. Lacking any protection the paintwork had oxidized and over years of washing quite a few very bad swirls were also on display.
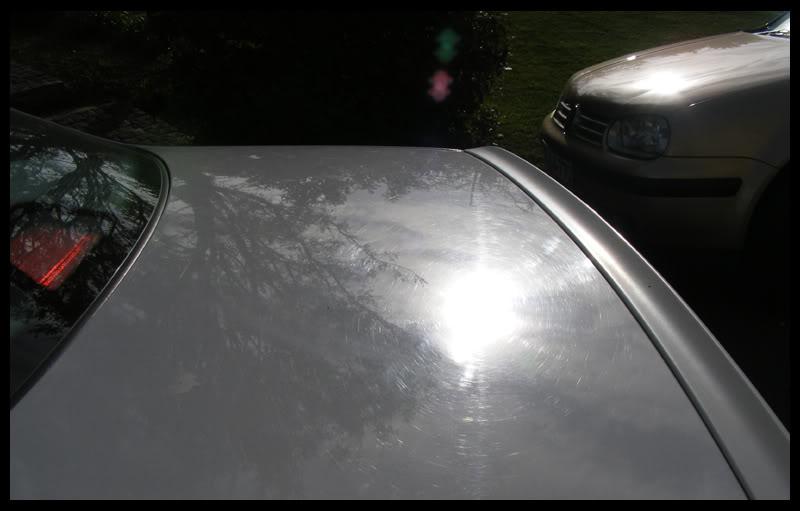

The bonnet and boot lid were by far the worse off, with very deep scratches, which although reduced I was not able to remove.
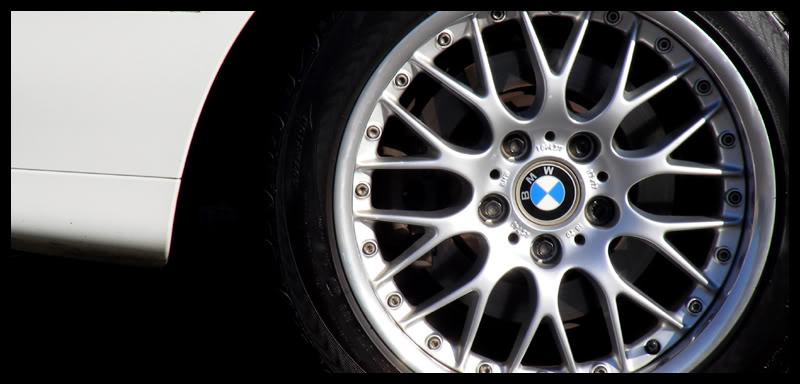
The mag wheels had also suffered with rust and discoloration on the lip of the mag wheel. The actual paint on the mags were also rather dull and lacking in gloss and definition.

In the engine bay things were a bit dirty, with a thick layer of dust on top of all the components and staining on the paintwork, plastics and huge amounts of dust. At this point I also noticed a lot of fine dust in the door shuts and boot shuts - I assume that the previous owner had used the car on a dirt road and didnt bother to clean these areas of the car.


With my observations out of the way I decided to get started on the car. Using Chemical Guys Extreme Strong Wash I set to work on the mags, tyres, arches and engine bay agitating with an assortment of brushes.
I then foamed the car down using Chemical Guys Maxi Suds allowing the car to soak for 10 minutes whilst the door shuts, badges, weather strips, bumper edges and trimmings were agitated by a brush.

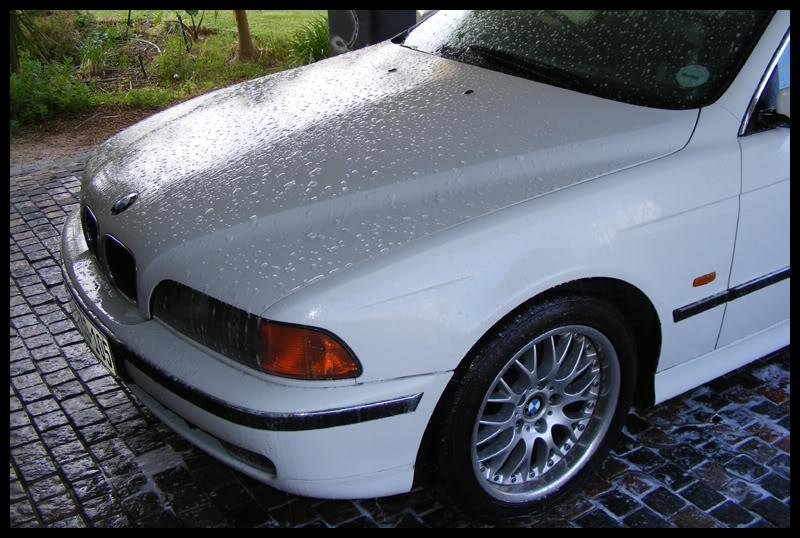
After spraying the car down with a High Pressure Hose I gave the car a hand wash using a microfibre to remove any remaining dirt.
It was evident that this car had been a victim of some rather bad "Fall Out" as the paint was speckled with tiny spots of surface rust. To cure this and prepare the paintwork for polishing I used Auto Magic Clay to clay all the panels on the car.
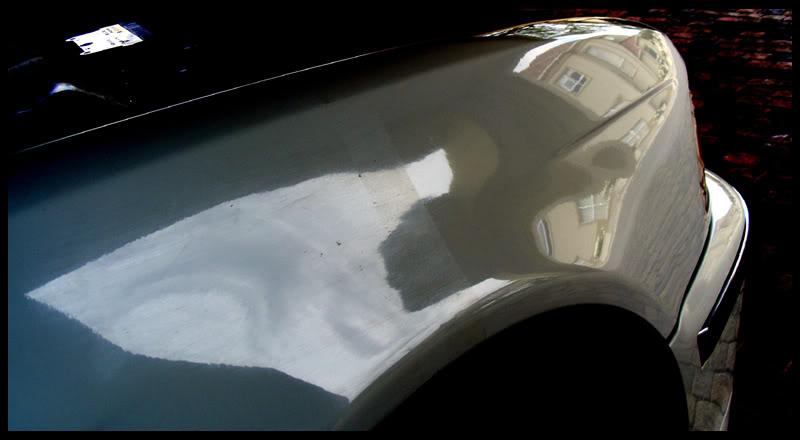
Front fender alone:

The car was then rewashed and dried to reveal a very dull, lifeless and swirled paintwork. It was most upsetting to see her in this state so I began taping her up to begin with the correction.
Correction itself was completed with Chemical Guys Pro Cut No.2 (721) using a medium cut Hex Pad. This left me with very good cut, removing the oxidation (and constantly clogging my pads) and most of the swirling with relative ease.
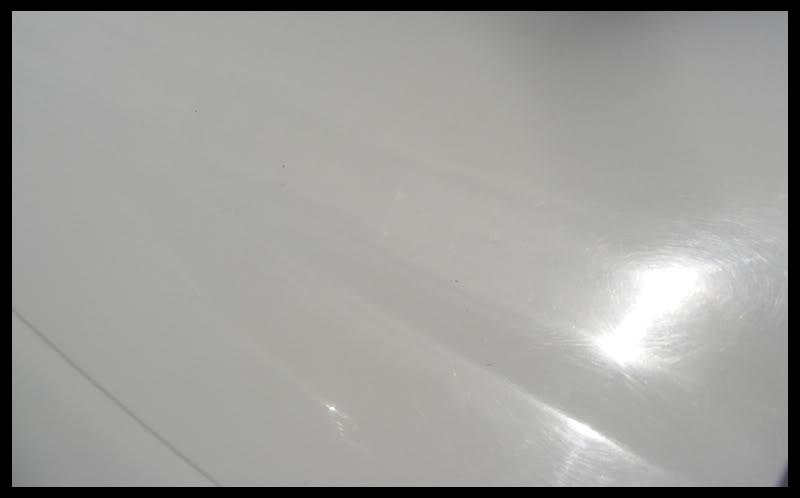
Some 50/50's: (Some enhanced so its easy to see)


I must admit that I didnt really enjoy using the Pro Cut on this car as it left a very unrefined finish which is unusual as it was breaking down correctly and I was working it at the right speeds etc. So using a red finishing pad I solved this by using the Pro Polish from Chemical guys.
With the day drawing to a close I decided to layer the car with a single coat of Collonite 476 buffing off to leave this:
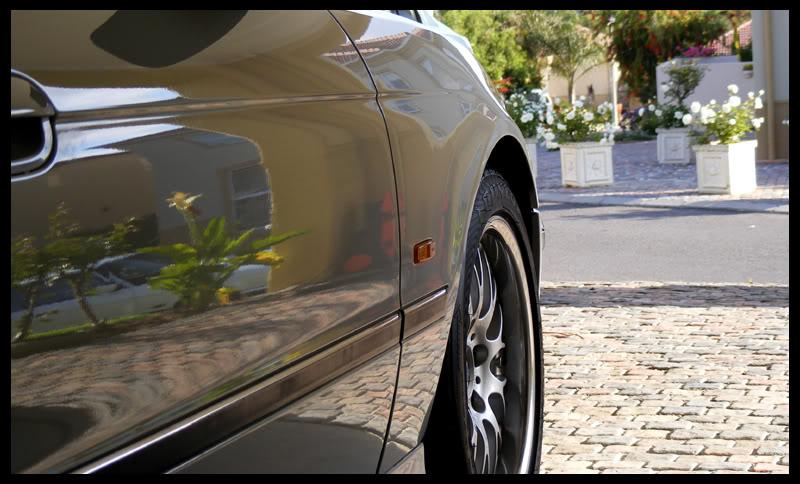

The second day of this detail started off with a quick wash, dry and yet another coat of Collonite further enhancing the finish. On the recommendation of a friend I also gave the car a single coat of Chemical Guys Wet Butter Wax on top of the Collonite.
Surprisingly this further added to the wetness and depth of the paint, I was positively thrilled as this is not a combination I would ever use as I find the Wet Butter Wax isnt very durable.
At this point I be-friended this friendly little kitty / coolant leak who continued to assist me (by purring and rubbing himself up against the car) as well as getting in my way. He made a fantastic buffing pad. :lol:

With the interior now needing some love I began work. I was rather surprised that the interior with the exception of the rear seats showed very little signs of wear - I expected far worse based on cars I have done previously.
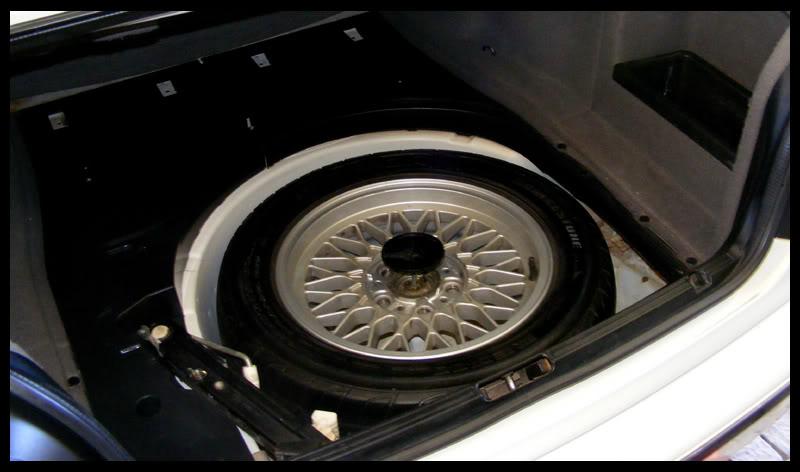
Spare tyre well was spruced up a bit:

The leather, fabrics, carpets and suede was cleaned and extracted leaving a fresh Cherry smell in the car along with the fresh smell of leather from the conditioner I used. The back seats cleaned:

With the detail drawing to a close it was time for the final little details:
- Glass was cleaned with Autoglym Fast Glass.
- Leather treated with Smart Leather.
- All trimmings, engine bay and tyres were treated with Smart Dressing.
- Mag wheels were clayed, polished with Megs NXT Metal Polish and given two coats of Rim Wax.
- Arches were doused in Trim Detailer.
- Door Shuts were waxed with XXX White Wax.
- Interior finishes were coated with some Gold Class Wax and buffed to a shine.
- Unfortunately the headlights were well and truly screwed, so we left those as they are in any case being replaced shortly.
The only thing left to do now was a quick photoshoot and a drive in the owners beautiful E34 (Pictured in the background).


And to finish the day off, a beautiful sunset on my way home:

Thanks for reading, I think the owner was rather chuffed with the finish on this new E39 and I thoroughly enjoyed my time working on her.
What do you think? All comments are welcome.
Mike

