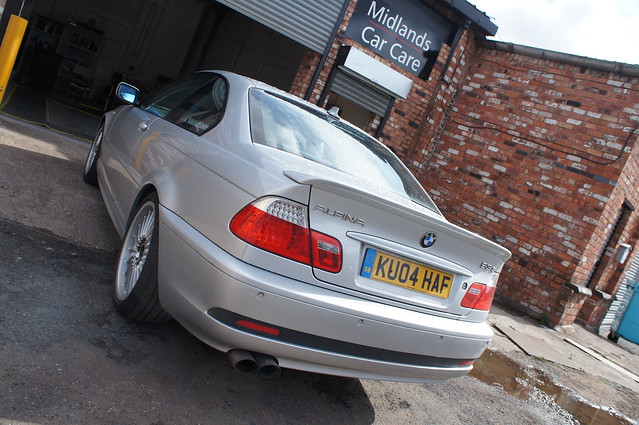
This extremely rare car is one of only 35 E46 B3s Coupe's sold in the UK and one of only 5 sold during 2004!!
The car itself was in great condition, but needed machine polishing to remove the swirling present in the clearcoat which in turn restores the gloss/lustre to the finish.
Ahead of the detail, the alloy wheel centre caps were removed - some of the afters exclude these for which I apologise, but they are present in some of the later 'afters'.
On to the detail...
A few befores:
 DSC05703
 by
RussZS, on Flickr
 DSC05706
 by
RussZS, on Flickr
 DSC05707
 by
RussZS, on Flickr
 DSC05708
 by
RussZS, on Flickr
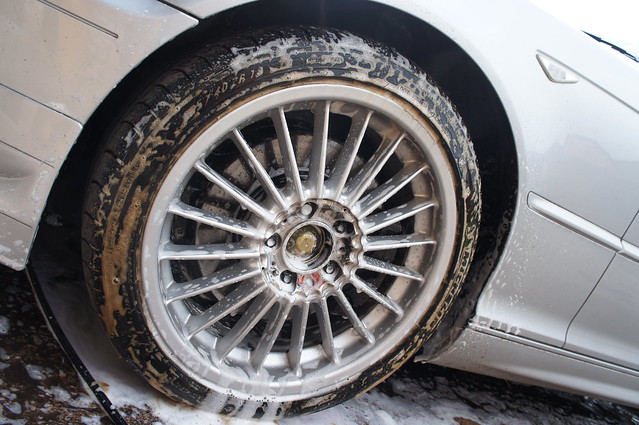
As always, wheels were up first:
 DSC05709
 by
RussZS, on Flickr
 DSC05711
 by
RussZS, on Flickr
 DSC05714
 by
RussZS, on Flickr
Ahead of any contact, I sprayed AutoSmart Smart Wheels cut 4:1 on to the wheels and tyres to loosen any dirt, before pressure rinsing off - the logic here being the same as snow foaming a car - you want to remove as much dirt as possible before making physical contact with the paint on the wheels:
 DSC05716
 by
RussZS, on Flickr
 DSC05717
 by
RussZS, on Flickr
and rinsed:
 DSC05719
 by
RussZS, on Flickr
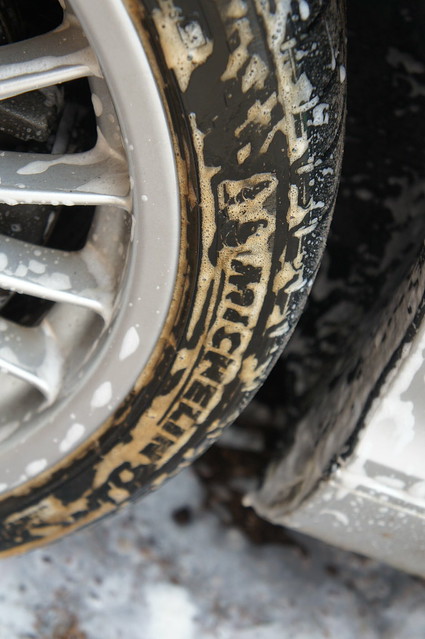
Better but still nowhere near 'detailed':
 DSC05721
 by
RussZS, on Flickr
This was followed by a second generous covering:
 DSC05722
 by
RussZS, on Flickr
This was then agitated using the soft Valet Pro brushes:
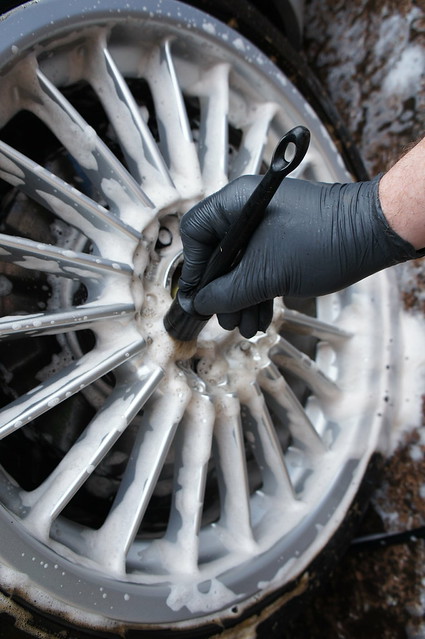 DSC05723
 by
RussZS, on Flickr
 DSC05724
 by
RussZS, on Flickr
The EZ Wheel brush was used on the rear of the wheels:
 DSC05725
 by
RussZS, on Flickr
G101 on the tyres:
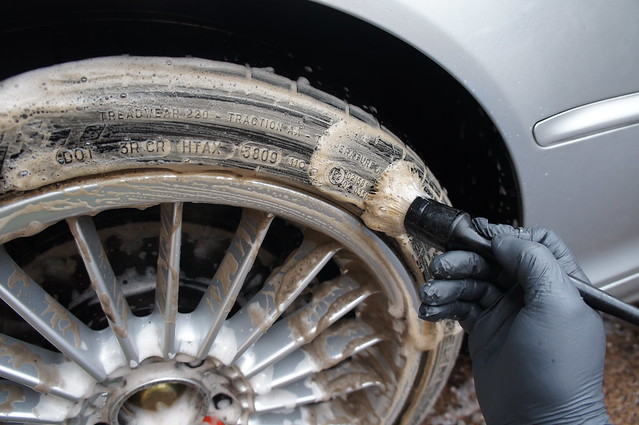 DSC05727
 by
RussZS, on Flickr
Then the Wheel Woolie on the arches - this is used as its relatively soft so won't harm the painted parts of the wheel arches:
 DSC05728
 by
RussZS, on Flickr
 DSC05729
 by
RussZS, on Flickr
and rinsed...
 DSC05732
 by
RussZS, on Flickr
Much better but still not good enough...
IronX next...
 DSC05735
 by
RussZS, on Flickr
This safely dissolves any brake dust pitted into the lacquer on the wheel:
Sprayed on:
 DSC05736
 by
RussZS, on Flickr
Left to work for 5 mins:
 DSC05739
 by
RussZS, on Flickr
This was then followed up with Tardis to remove the tar deposits:
 DSC05744
 by
RussZS, on Flickr
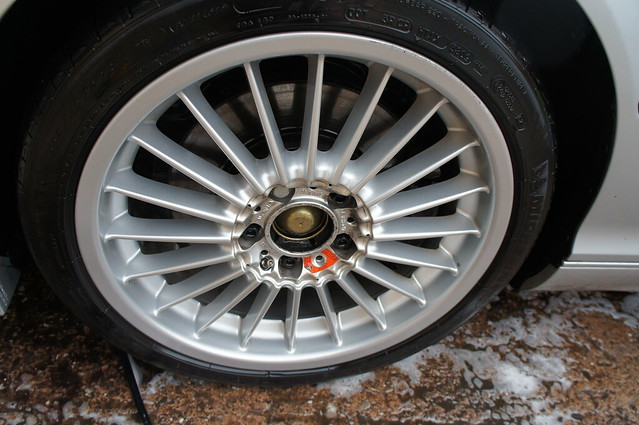
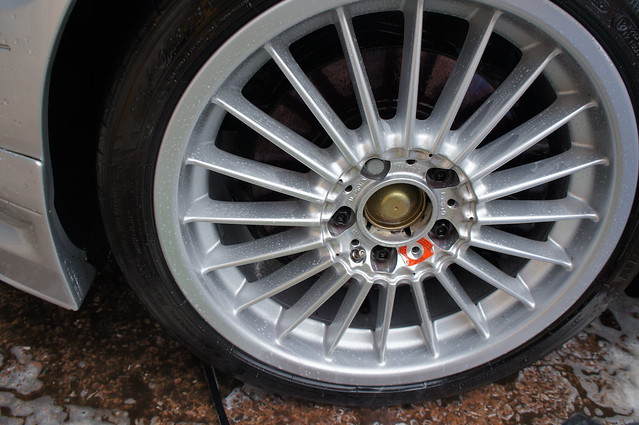
and finally rinsed...
 DSC05746
 by
RussZS, on Flickr
Much better!! :)
Next I turned my attention to the paint. The car was foamed with Bilt Hamber's AutoFoam to begin breaking any loose dirt down - again the logic being to remove as much dirt as possible before making physical contact with the paint:
 DSC05747
 by
RussZS, on Flickr
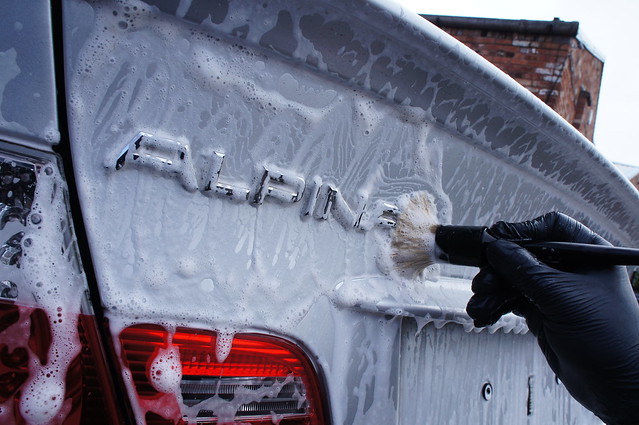
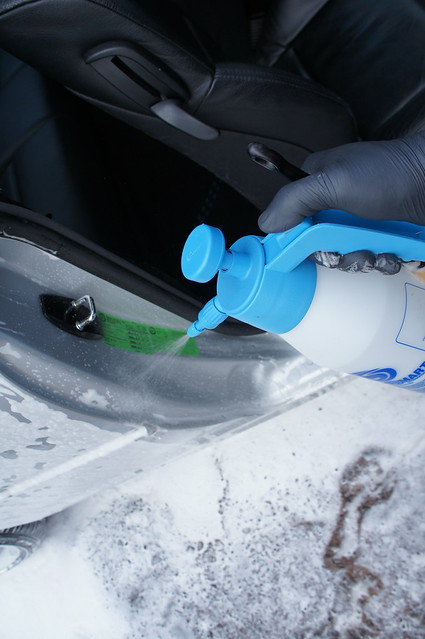
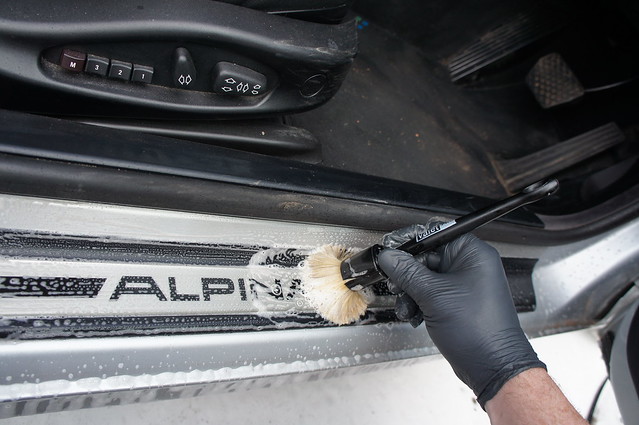
G101 was used to work around the more intricate parts of the car, which hand washing with a mitt sometimes misses:
 DSC05748
 by
RussZS, on Flickr
 DSC05751
 by
RussZS, on Flickr
 DSC05752
 by
RussZS, on Flickr
 DSC05753
 by
RussZS, on Flickr
 DSC05755
 by
RussZS, on Flickr
Pressure Sprayer used where required:
 DSC05756
 by
RussZS, on Flickr
 DSC05758
 by
RussZS, on Flickr
 DSC05764
 by
RussZS, on Flickr
 DSC05766
 by
RussZS, on Flickr
Next the car was rinsed at high pressure using my Kranzle K7, then hand washed with Zaino Z7, a CarPro Mitt and the Zaino Grit Guard Bucket system:
 DSC05767
 by
RussZS, on Flickr
 DSC05768
 by
RussZS, on Flickr
This was then rinsed. At this stage the car was looking much cleaner, but the following stages are designed to fully decontaminate the paintwork ahead of machine polishing.
IronX was used first to safely remove any fallout:
Not too bad on the boot:
 DSC05773
 by
RussZS, on Flickr
 DSC05776
 by
RussZS, on Flickr
however the drivers door...
 DSC05783
 by
RussZS, on Flickr
 DSC05784
 by
RussZS, on Flickr
This was followed with Tardis which safely removes any tar deposits present on the paint:
 DSC05779
 by
RussZS, on Flickr
Next the car was foamed with a deliberately watery solution to run any IronX or Tardis out from under trim pieces:
 DSC05786
 by
RussZS, on Flickr
The car was then rinsed and moved inside. I prefer to clay inside as it minimises the amount of debris which can fall onto the paint, which could potentially harm the clearcoat - this is of a particular risk on a windy day such as today:
Auto Finesse Clay was used:
 DSC05788
 by
RussZS, on Flickr
Nothing significant was lifted, showing just how effective IronX and Tardis are!
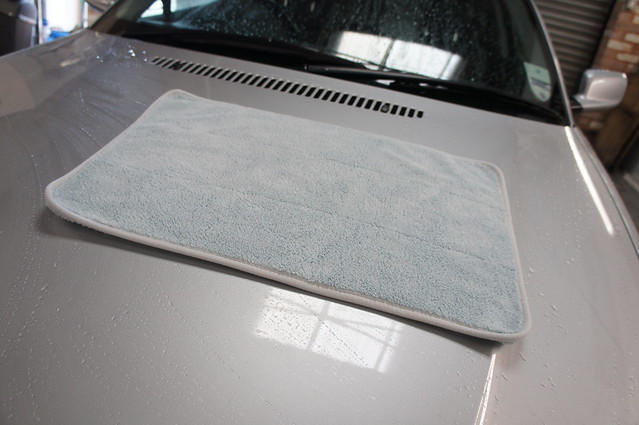
I dried the car next using the Microfibre Madness towel - not the cheapest, but one of the best...
 DSC05789
 by
RussZS, on Flickr
Next the paint was assessed ahead of machine polishing to remove the swirling present in the paint.
The car was reading a healthy average of around 160, with the lowest spot on the roof being 133:
 DSC05881
 by
RussZS, on Flickr
After trialling various combinations, I was getting a great level of correction from S17 and 3M Pad via Festool Rotary:
 DSC05805
 by
RussZS, on Flickr
Capturing defects and correction on silver is quite tricky, but hopefully you can see what has been achieved on some of these pics:
50/50 under halogen - not the best light source for silver!
 DSC05794
 by
RussZS, on Flickr
I switched to Halide on the bootlid, so before:
 DSC05813
 by
RussZS, on Flickr
After:
 DSC05812
 by
RussZS, on Flickr
A deeper scratch which was dealt with specifically:
Before:
 DSC05820
 by
RussZS, on Flickr
After:
 DSC05821
 by
RussZS, on Flickr
It is still there under certain angles/lighting, but much reduced!!
After each set, CarPro Eraser was used to remove any polishing oils left behind by the Scholl which *can* fill if not worked properly:
 DSC05830
 by
RussZS, on Flickr
Sprayed onto panel and left to sit slightly:
 DSC05831
 by
RussZS, on Flickr
Removed with soft MF:
 DSC05832
 by
RussZS, on Flickr
Still looking good:
 DSC05834
 by
RussZS, on Flickr
Bonnet before:
 DSC05849
 by
RussZS, on Flickr
After:
 DSC05862
 by
RussZS, on Flickr
50/50 from passenger door under DIY Sun Gun lighting:
 DSC05873
 by
RussZS, on Flickr
To finish, to paintwork was cleansed with Auto Finesse Rejuvenate via DA and 3M Polishing Pad:
 DSC05894
 by
RussZS, on Flickr
This was followed up with a layer of Tough Coat and a layer of the forthcoming range topping wax - Wraith:
 DSC05895
 by
RussZS, on Flickr
Crystal on the glass:
 DSC05896
 by
RussZS, on Flickr
Gloss was used on the tyres...
 DSC05897
 by
RussZS, on Flickr
Before:
 DSC05899
 by
RussZS, on Flickr
After...
 DSC05900
 by
RussZS, on Flickr
Also used, but no pics:
- Mercury on exhausts
- Revive on plastic trim
- Spritz on interior plastics
- Zaino Z9 on interior leather
- Mint Rims on alloys

